New Toys!

My younger brother has been after my Canon EOS Rebel T3 pretty much since the day I got it. This year, he offered me $300 for it. I figured since I have the 40D I could consider his offer this year. I then hopped on Craigslist to see what kind of deals were going on for Canon DSLR’s.

I found several Canon 5D’s for sale under $550! My lucky day if I had the funds. So, I sold my rebel  to my younger brother, with its package lens (18-55mm) and some SD cards for $300. And then I did some work for my grandma and some pictures for family. I contacted one o fthe sellers on Craigslist that was local. He was willing to sell me his 5D, battery pack, battery charger, manuals and CD-Roms, USB cords, Shutter remote, and 2 batteries for $400. The camera was hardly used and doesn’t even have a scratch on it. I did some test shots before making the deal, and I knew it was totally worth the cash.

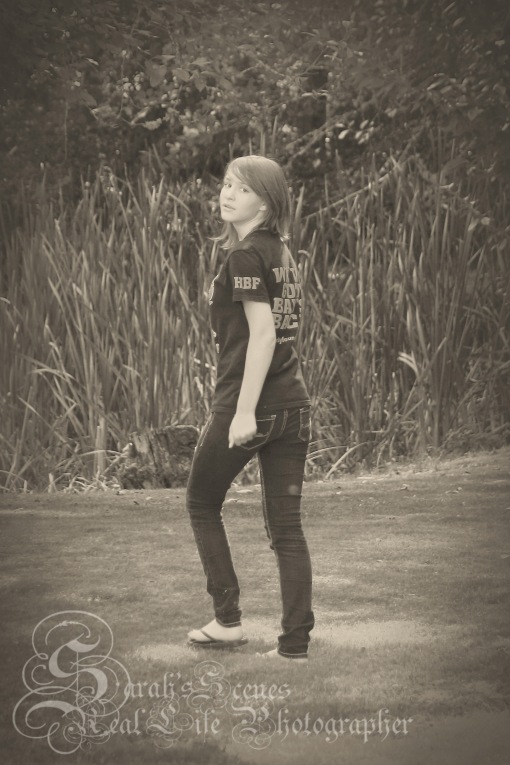
The next day (today) I took out the 5D with a fully charged battery and my 50mm f/1.8 lens and did some photos with a truly stunning little model! She is 10 years old and just had braces put on and she wanted some photos to show her friends. We had a blast going through our woods, I played around with the settings, working in Av mode, then Manual Mode. Got some amazing pictures! She’s very happy with her photos too, you can see them here.

All in all, its been a good day with lots of fun playing with new toys and pretty girls. What a great way to start the New Year! Hello 2014, here we come!

031 1 1 copy

Editing Photos

Editing in Photoshop can be a very laborious thing. It can take many hours to get a few photos done. And its not because Photoshop is so hard to use, its because there are many steps to get the look you want in your photos.

Fortunately, there are many that have come before us that have put a lot of work into creating “Action Sets.” These Action Sets are a pre planned set of steps to help speed the process of photo editing. These actions have several layers that will show up in the “Layers Palette” when the action is activated for a specific photo, these individual layers can then be adjusted to taste.

For the image I’m editing today, I used a new action from Colorvale called “Fall Envy“, you can get it for free by clicking on the name.  I also use a set from yellow Sky Actions (click Here to see the set I use), the set cost me $50. And I use another free Action called “Poetic Winter BW Fade PSE” (click on the name to get the free download).

To start, here’s a before and After of the image I’m editing this morning:

chicken

This hen is a Barred Rock Aracauna mix we purchased this last summer for our flock.

Getting Started:

Open your photo in Photoshop (I use Photoshop Elements 8).

Your actions should show up in the upper right corner of your photoshop workspace. In the action box, click the Colorvale action “Fall Envy.”

I leave this action as is, and don’t do anything with the individual layers, this is my preference though and you may do as you like with them.

Next, Click the Yellow Sky Action “Rustic Goodness.”

Once all the layers have appeared, I go through and change the “Opacity” of each of the following layers in this action:
Bright & Crisp: 50%
Color Me: 12%
Touch of Color: 5%
Touch of Warmth: 4%
Level up: 0% (I delete this layer, which can be done by simply right clicking on it and select “Delete”)

Next I use the Yellow Sky Action “Soft & Rich Brush”, which in elements will affect the whole image, it won’t be a brush in Elements. Click “Ok” or “Continue” when it asks if you want to proceed. Adjust this layer Opacity to 12%.

Now click the poetic Winter BW Fade PSE Action (it will have a photo appearing as a camera sitting on a desk in your Actions box). I don’t change anything for this set except to make the Gradient Map layer invisible (just click the eye next to the layer to do this, you can make it visible again later).

Right click on  any of your layers and select Merge Visible.

Now, select your bottom (“Background”) layer.

Go to Enhance>Adjust Lighting>Brightness/Contrast.
set the Contrast to -50%.
repeat this process and set the Contrast to -25%.

Go to Filter>Distort>Diffuse Glow
Set the grain to 0, Glow to 1 and Clear Amount to 19.
Click “Ok.”

Then, Enhance>Adjust Color>Hue/Saturation.
Set the Saturation for 20%.

Enhance>Adjust Lighting>Levels
Set the dark side to 20.

Now you need to “Duplicate” your background layer.
Right click on your bottom layer and click “Duplicate Layer.”
Click “Ok” when the pop up appears asking about naming your new layer.

Select your new layer (should be second to bottom layer) and go to Filter>Stylize>Emboss.
Set Height to 6px, Amount to 100%, Click “Ok.”

Now your image looks like its got a grey mask over it, now don’t freak out….
“Oh No! What have I done!”
This mask will help to sharpen your image.

Now set this layers “Style” (next to the Opacity bar) as Overlay
and set the opacity for 50%.

Merge Visible. Zoom in, can you see the difference?

Ta-da! What do you think?

Now, Go to File>Save and save your image as a JPG
(or another file type if you have a preference).

You can alter things to meet your own style as you go along. This is just to give an idea of all the work that goes into a photo. Even with Actions, editing can take a while. But it’s what it takes to get the photo just the way you want.

There are lots of other ways to edit your photos in Photoshop, so have fun with it! Don’t be afraid to experiment a little here and there.

This is Sarah’s Scenes, Real Life photographer.

Sarah’s Scenes, Real Life Photographer

IMG_4140 copySarah’s Scenes is a small business run by a 21 year old, homeschooled daughter in a family of 12 children. She loves helping others look beautiful in their portraits and blessing people with great deals for an art that will last a lifetime!

I am Sarah Silliman, and I am dedicated to giving Affordable photography services, Professionalism and Inspirational images that will last.

I Love what I do, and would Love the opportunity to share my passion for photography with you.

Be sure to check out my Special Offers page for some awesome deals on photo packages! Use the “Contact Us” tab to ask any questions or make arrangements for a photo package.

Sarah’s Scenes is Located in beautiful Clark County, WA.

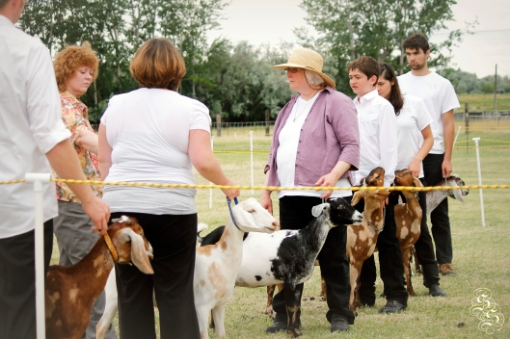
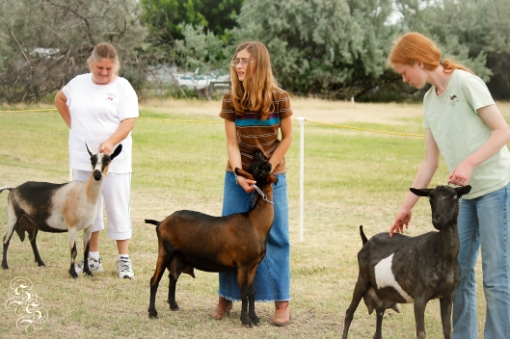
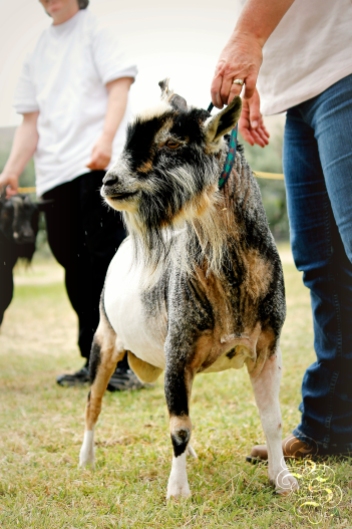
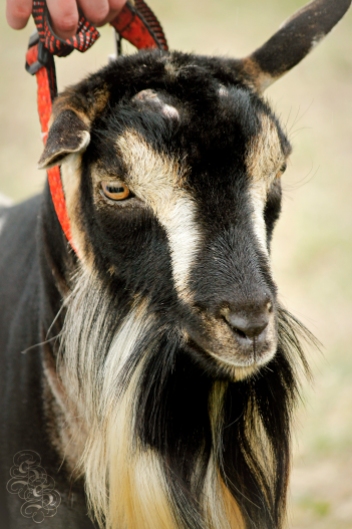
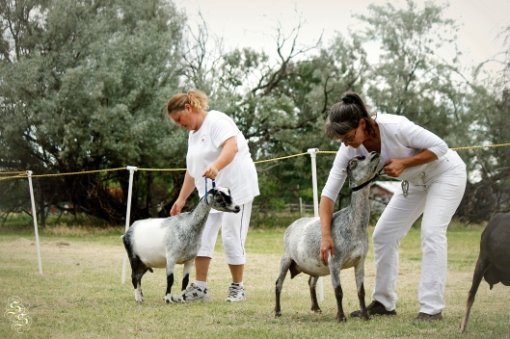
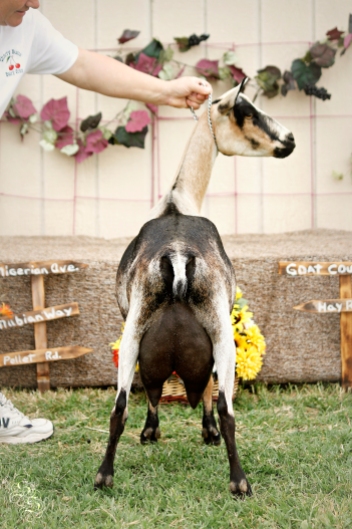
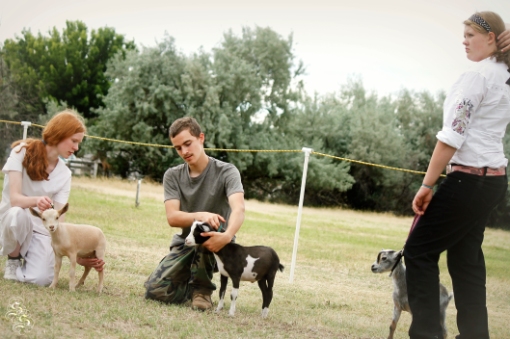
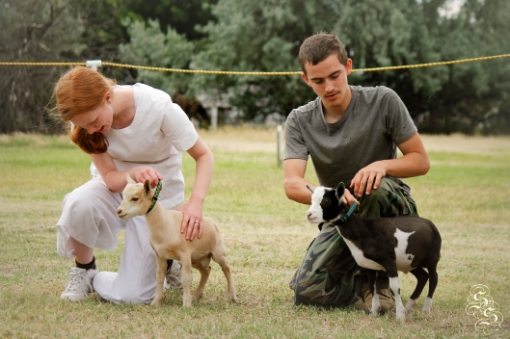
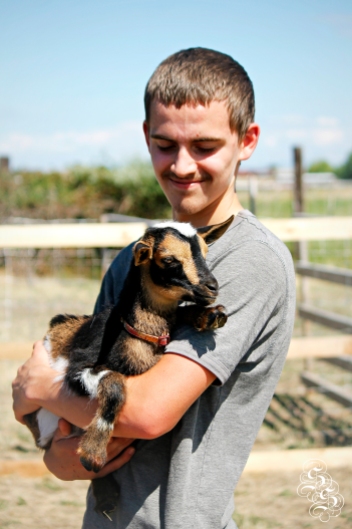
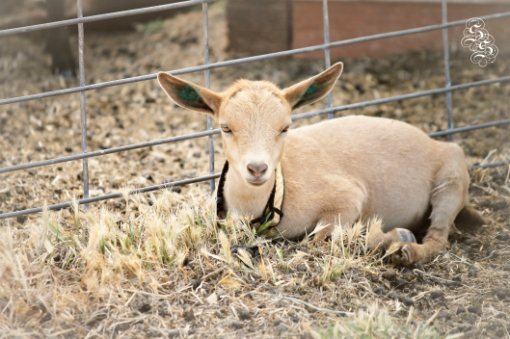
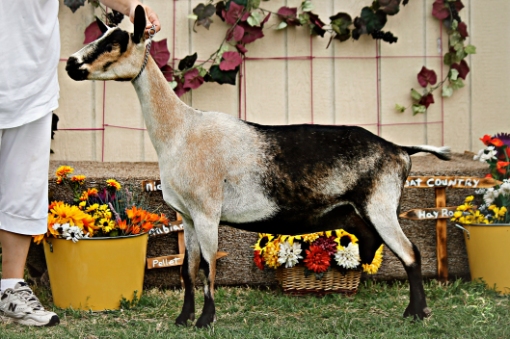
MDGA Goat Show 2012

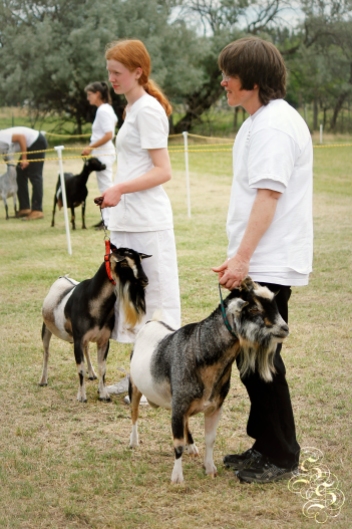
017 2

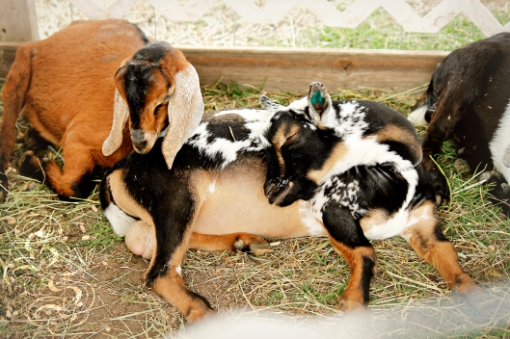
MDGA Goat Show 2012

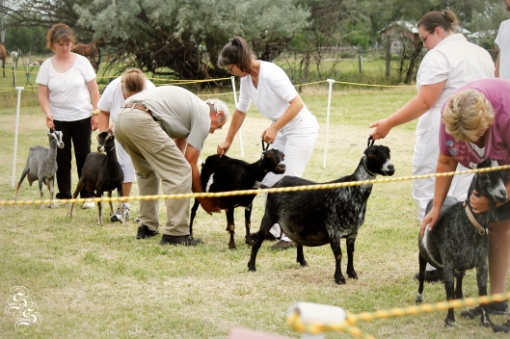
MDGA Goat Show 2012

540 copy 536 copy 535 copy 534 copy 516 copy 513 copy 511 copy 507 copy 505 copy 504 copy 503 copy 500 copy 499 copy 399 copy 270 copy 133 copy 125 copy 109 2 copy 108 copy 107 copy 077 copy 075 2 copy 071 2 copy 064 2 037 2 copy

This is Sarah’s Scenes, Real Life Photographer.

Portraits

I like a very Traditional, classic feel to my photos. I also love candid shots, two of the top four were total candids Anybody care to guess which two are the candids?


This is Sarah’s Scenes, Real Life Photographer.

WildLife at the Reserve, part 1

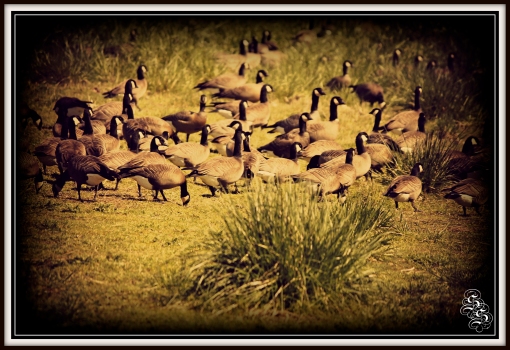
Geese

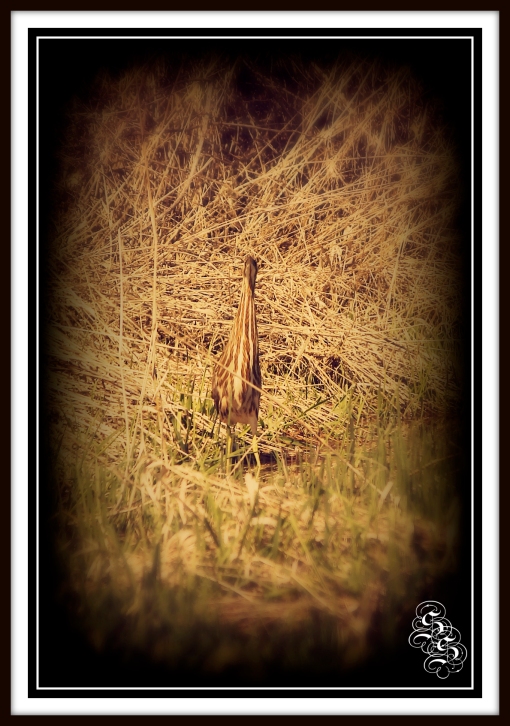
Bittern

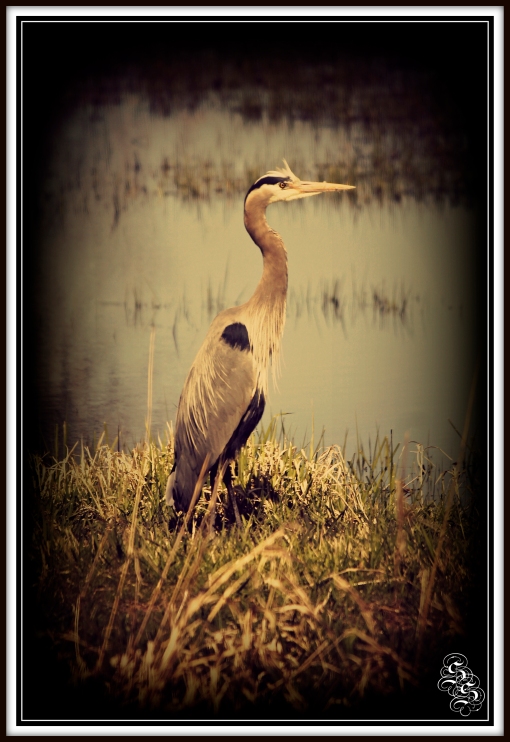
Great Blue Heron

These were taken at Ridgefield, Washingtons Wildlife Refuge on April 7, 2012.

This is Sarah’s Scenes, Real Life Photographer.

Quick Tips: Weddings

sense of place.

It’s not uncommon for an amateur photographer to be asked to shoot a friend or relatives wedding, a day full of high emotions, fancy decor, and special moments. But first, there’s a few tips you should have in your arsenal before attempting a wedding.

#1: Know your limitations. If you’re just there as a guest with a camera on hand, do not step on the toes of the Official photographer, don’t get in her way. If you are the Official Photographer, know ahead of time where you can be and how much moving you can do.

#2: Give a sense of place in your photos. Is the wedding in a church? On a farm? in a valley? On a hill? where is it? You will want to take a few wide-angle photos to answer this question for those who were not present at the event but will be seeing the photos.

#3: Be Alert. Keep your eyes wide open, try to almost predict when something is about to happen, be aware of what is going on around you.

#4: Be Ready. Anything can happen at any time. It’s up to you as the photographer to capture the events of the day and turn an ordinary photo into a memory and work of art that will be treasured for years to come.

This is Sarah’s Scenes real Life photographer.

some nice nature pictures…

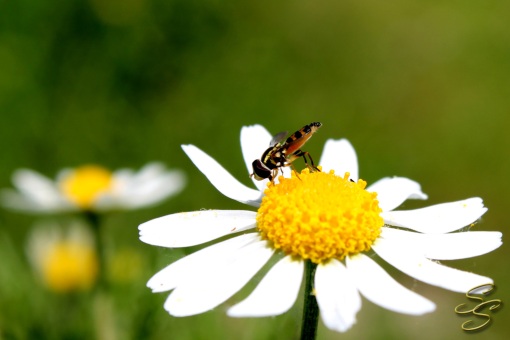
a Strange little bug on a Daisy.

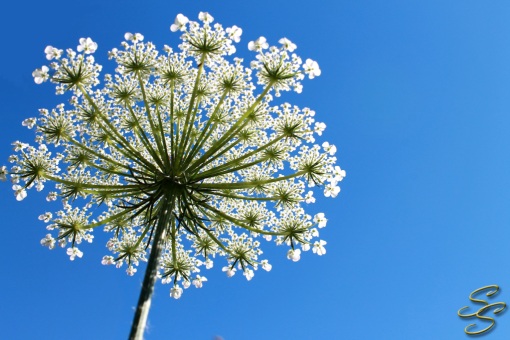
try looking at things from a different angle. underside of Queen Annes Lace.


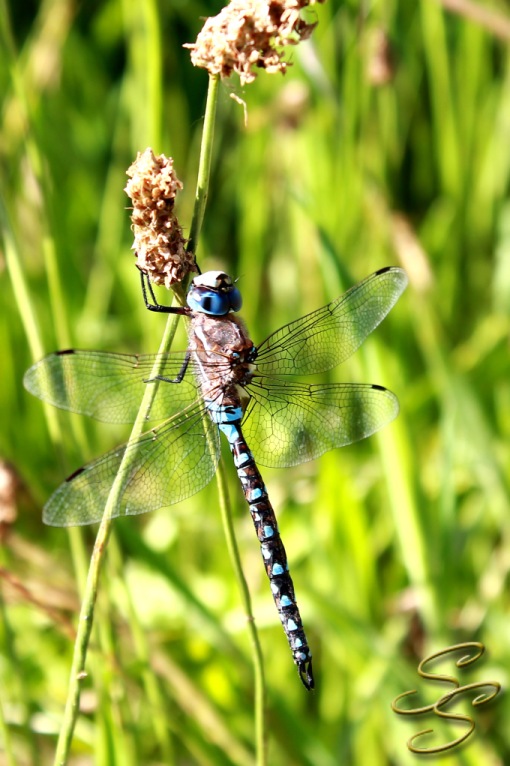
a beautiful Dragonfly, with all his gorgeous colors!

This is Sarah’s Scenes Real Life Photographer.


Getting Started: ISO levels

Here we are, moving up to the next step in being artistic with your photography. Today we are going to start doing more manual stuff, still in the Program Mode. This will help keep you from underexposing or overexposing your photos (we’ll talk about exposure soon).

The ISO levels will affect how bright or dark and image is, but also how saturated the colors are.

Most cameras, at least that I have handled, have ISO levels going from 100 up to 6400.

Levels 100 to 200 is great for daylight, you only need a little bit. I will usually have it set for 100 unless there’s a lot of shadows, or the image just doesn’t quite look as it should.

400 is good for evenings and moderate light.

800 to 1600 are good for evenings with little, or just not very good, sort of light.

3200 to 6400 are what you use when it’s especially dim light, almost dark out.

Some warnings go with these levels. The higher the ISO levels the more “noise” you’ll get in your pictures.

 Noise is what we cal it when you zoom in on your pictures and you see a lot of little dots (or squares) that aren’t the right color, some will almost look red. When looking for noise in an image you’ll want to look in the shadows where it tends to be very dark, but when Noise is present it shows up as pixely red-ish dots. Sometimes you won’t notice this untill you’ve pulled your picture up an a larger screen, like you computer monitor.

 This noise can make your images look grainy. Pixely is another term I’ve heard used a lot. You want your pictures to be nice and smooth, with a more realistic effect. Here’s a couple of photos showing “Noise” versus “neutral” or “smooth”…

Noise, look in the shadows and you can really see it.

No Noise, nice and smooth colors, the black is totally black..

 Sometimes you really won’t have much of a choice on how high an ISO you want to use, some lighting situations demand a higher ISO. but when you can try to stick below ISO 400 at the highest, this will prevent all that “noise.”

This is Sarah’s Scenes Real Life Photographer.

Lesson: watch the ISO, look out for Noise. Be creative, but be careful, and, of coure, have fun with it 😀

Getting Started: White Balance part 2.

In my last article I covered the basics of working with your white balance in the Program Mode. Today I would like to explain a bit about WHY you need to set it manually.

You see, your camera is like a computer, but only for taking and processing pictures. If that computer is not programmed correctly it will not work correctly. Your eye is the main thing camera developers study to make better quality cameras and lenses, so lets take a look at that for a minute.

Your eyes automatically assess what they are looking at and set a “white balance”‘ so that you almost always see things as white light. You can see a lot of color variations, but you don’t see people under tungsten lighting as being orange as the light they are under, because your eyes automatically correct it. Wasn’t YAH(God) amazing when he created your eyes?

Unfortunately, your camera and lenses are not as good at making automatic adjustments as your eyes are. So you must set the white balance manually to get it just right, although there will be some situations where even setting the correct white balance won’t compensate the colors enough to get it perfect, and that’s when you take it to Photoshop. But, if you control the white balance manually, you should be able to avoid this most of the time.

I failed to include some samples of how the different white balance settings work, I will remedy that mistake now.


Auto white balance.

Sunlight white balance.


Shade white balance.

Cloudy white balance.

cloudy white balance

Tungsten white balance.


White Fluorescent white balance.


Flash white balance.

I do not have a “Custom white balance” here because that will vary from person to person and camera to camera. I hope this helps you all to understand the white balance of your camera better.

this is Sarah’s Scenes Real Life photographer.
Lesson: understand your camera, and you can help it understand what you want to see, and you will have an easier time getting that picture the way you want it.

Subscribe via Email

Enter your email address to subscribe to this blog and receive notifications of new posts by email.

Join 1,126 other subscribers