
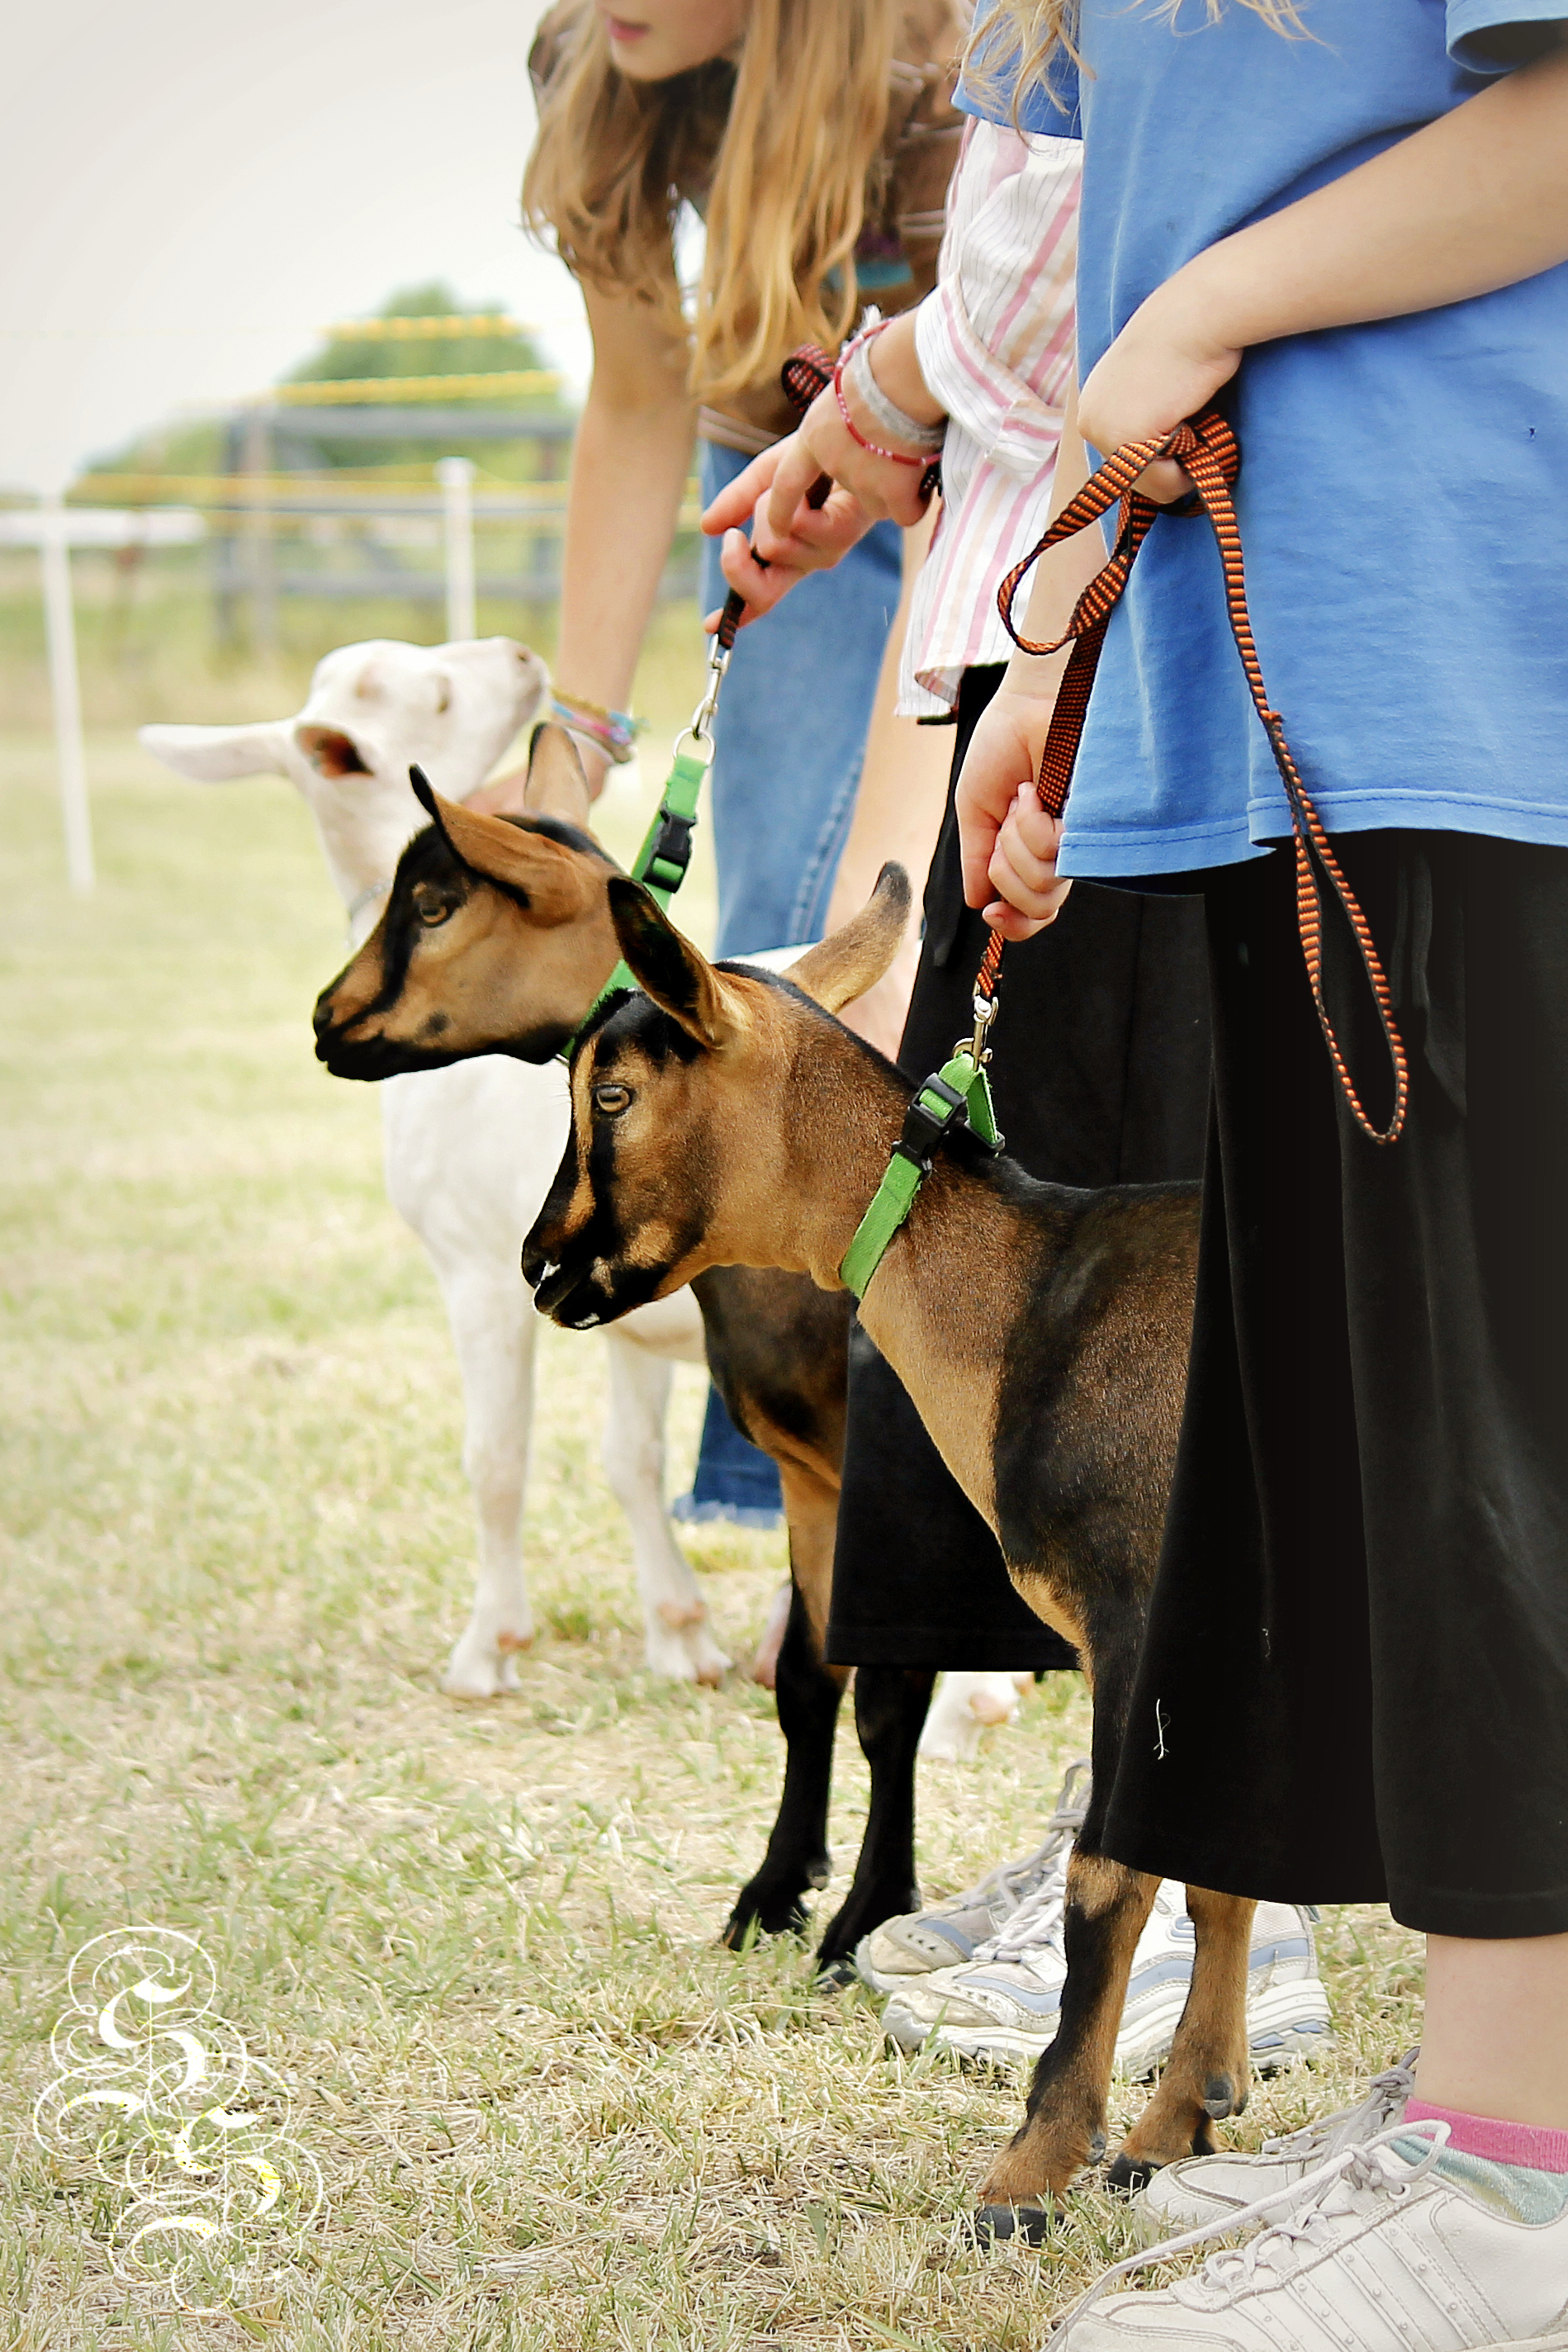
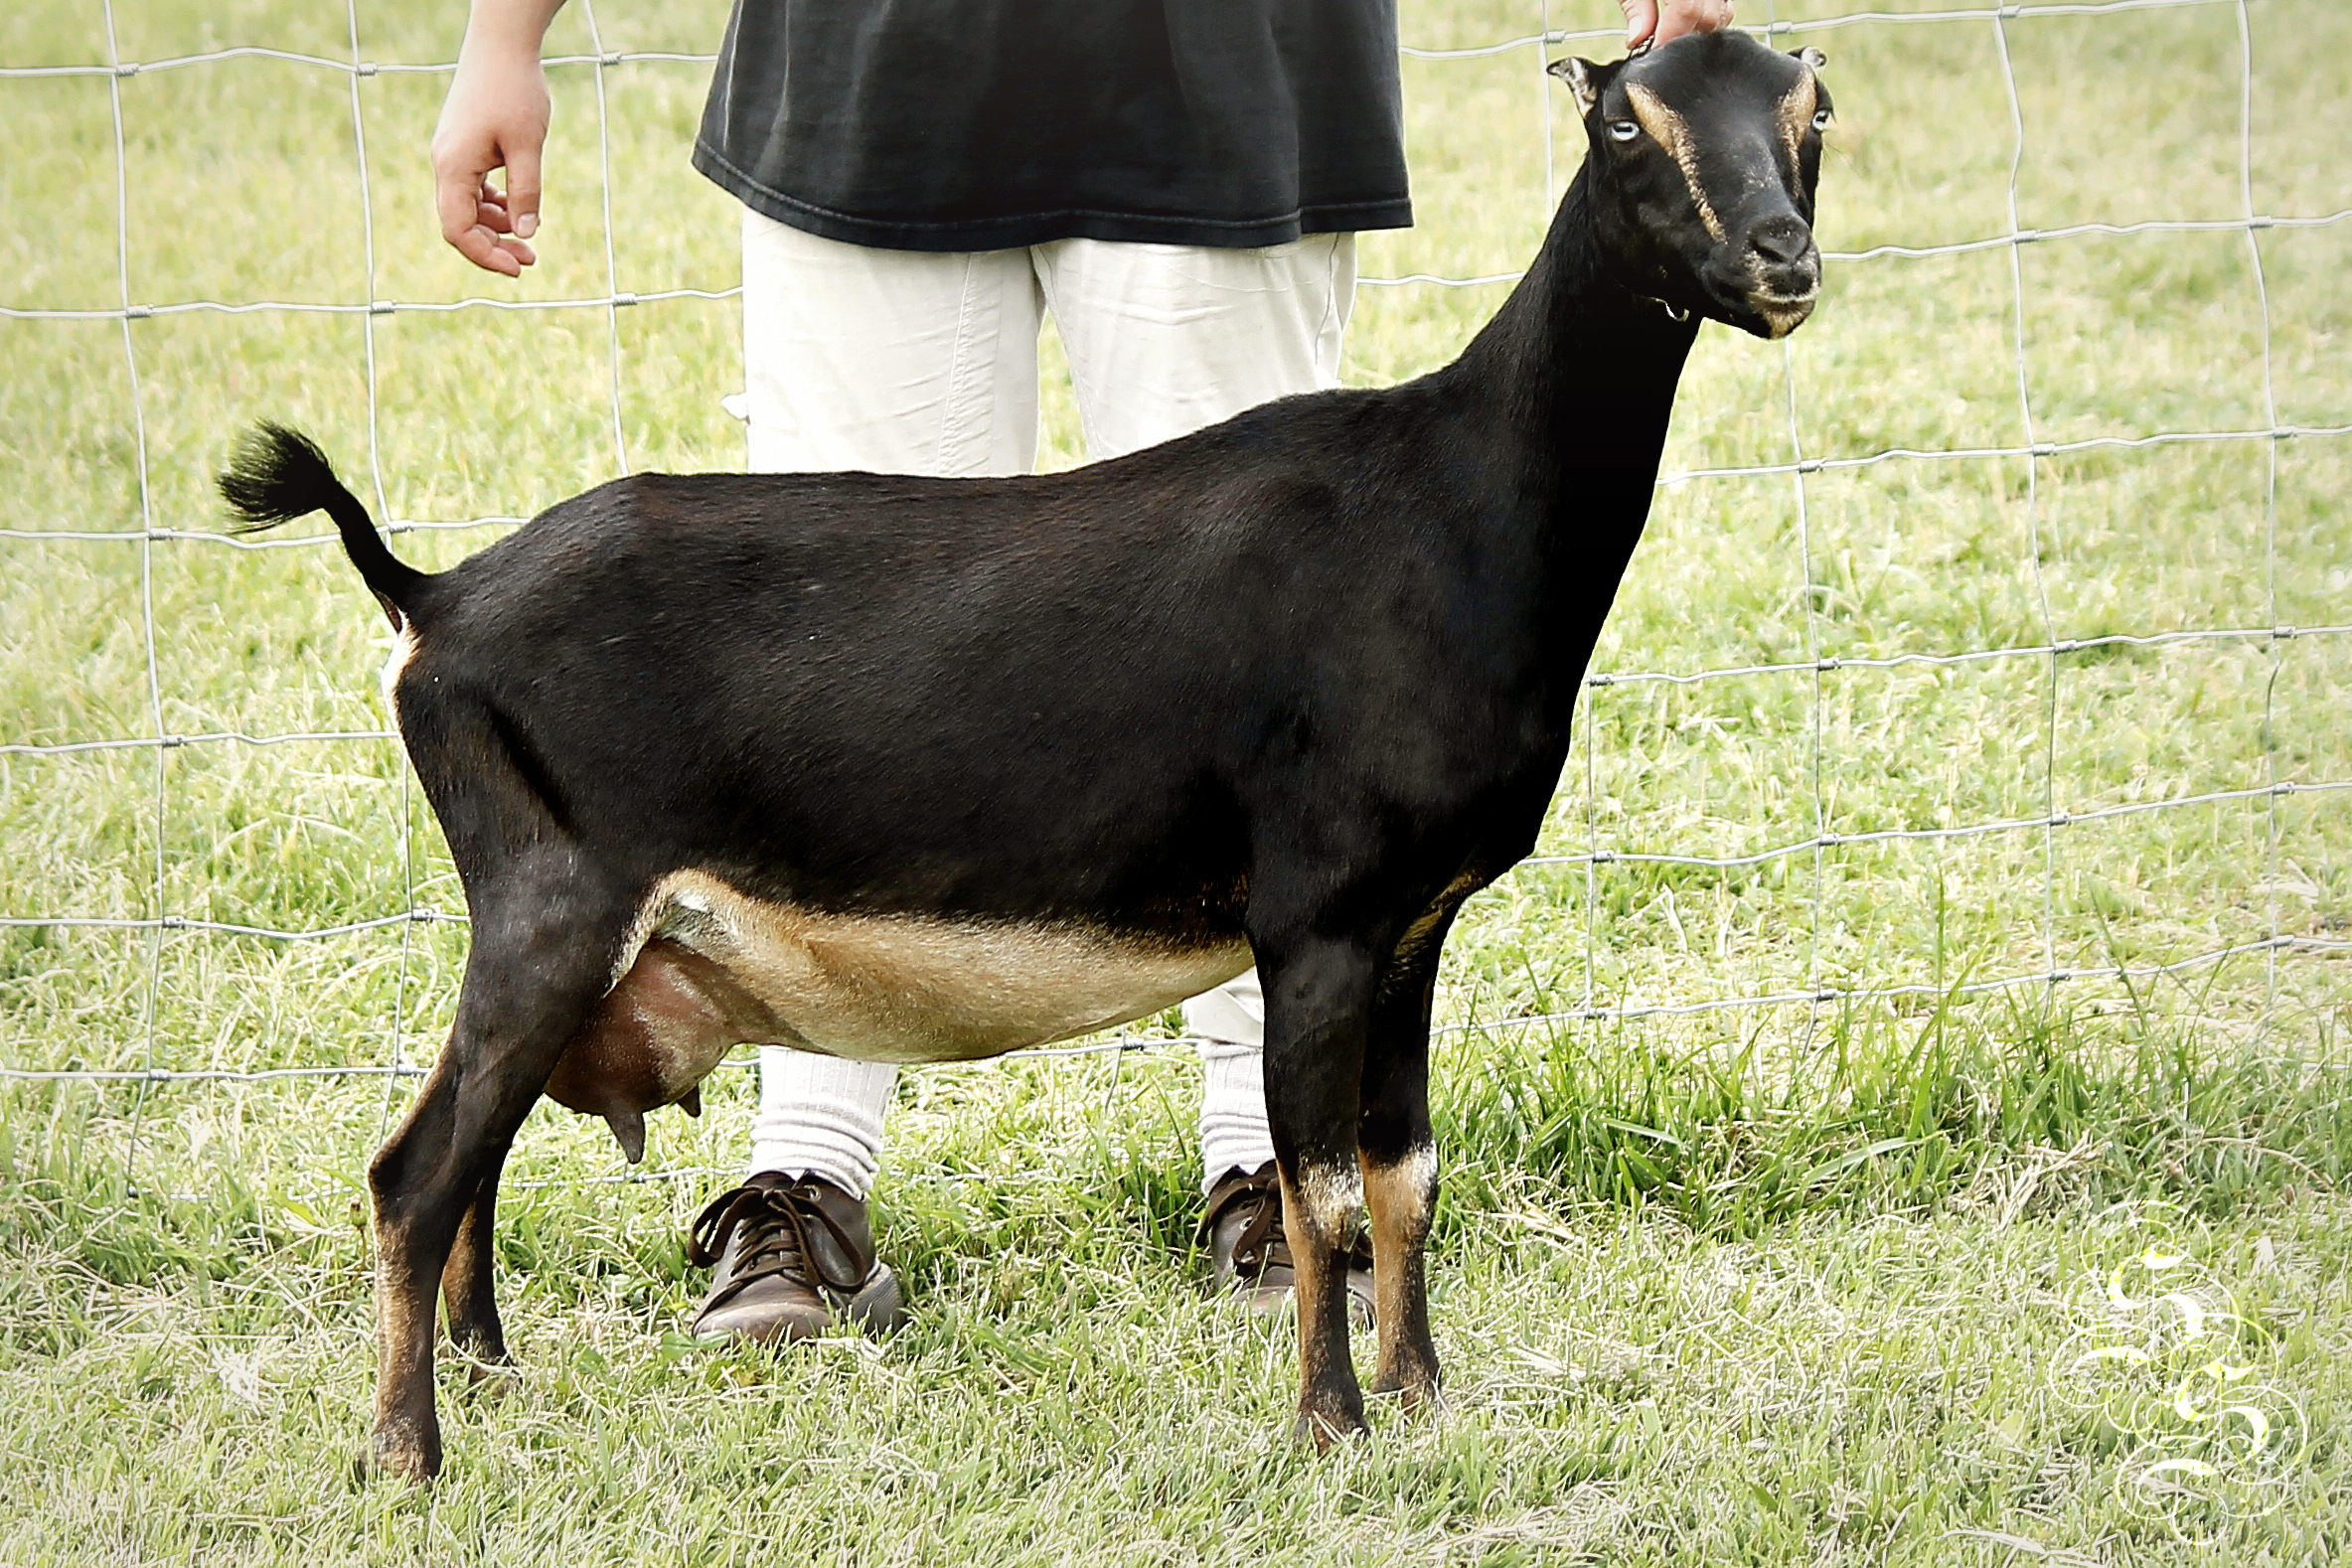
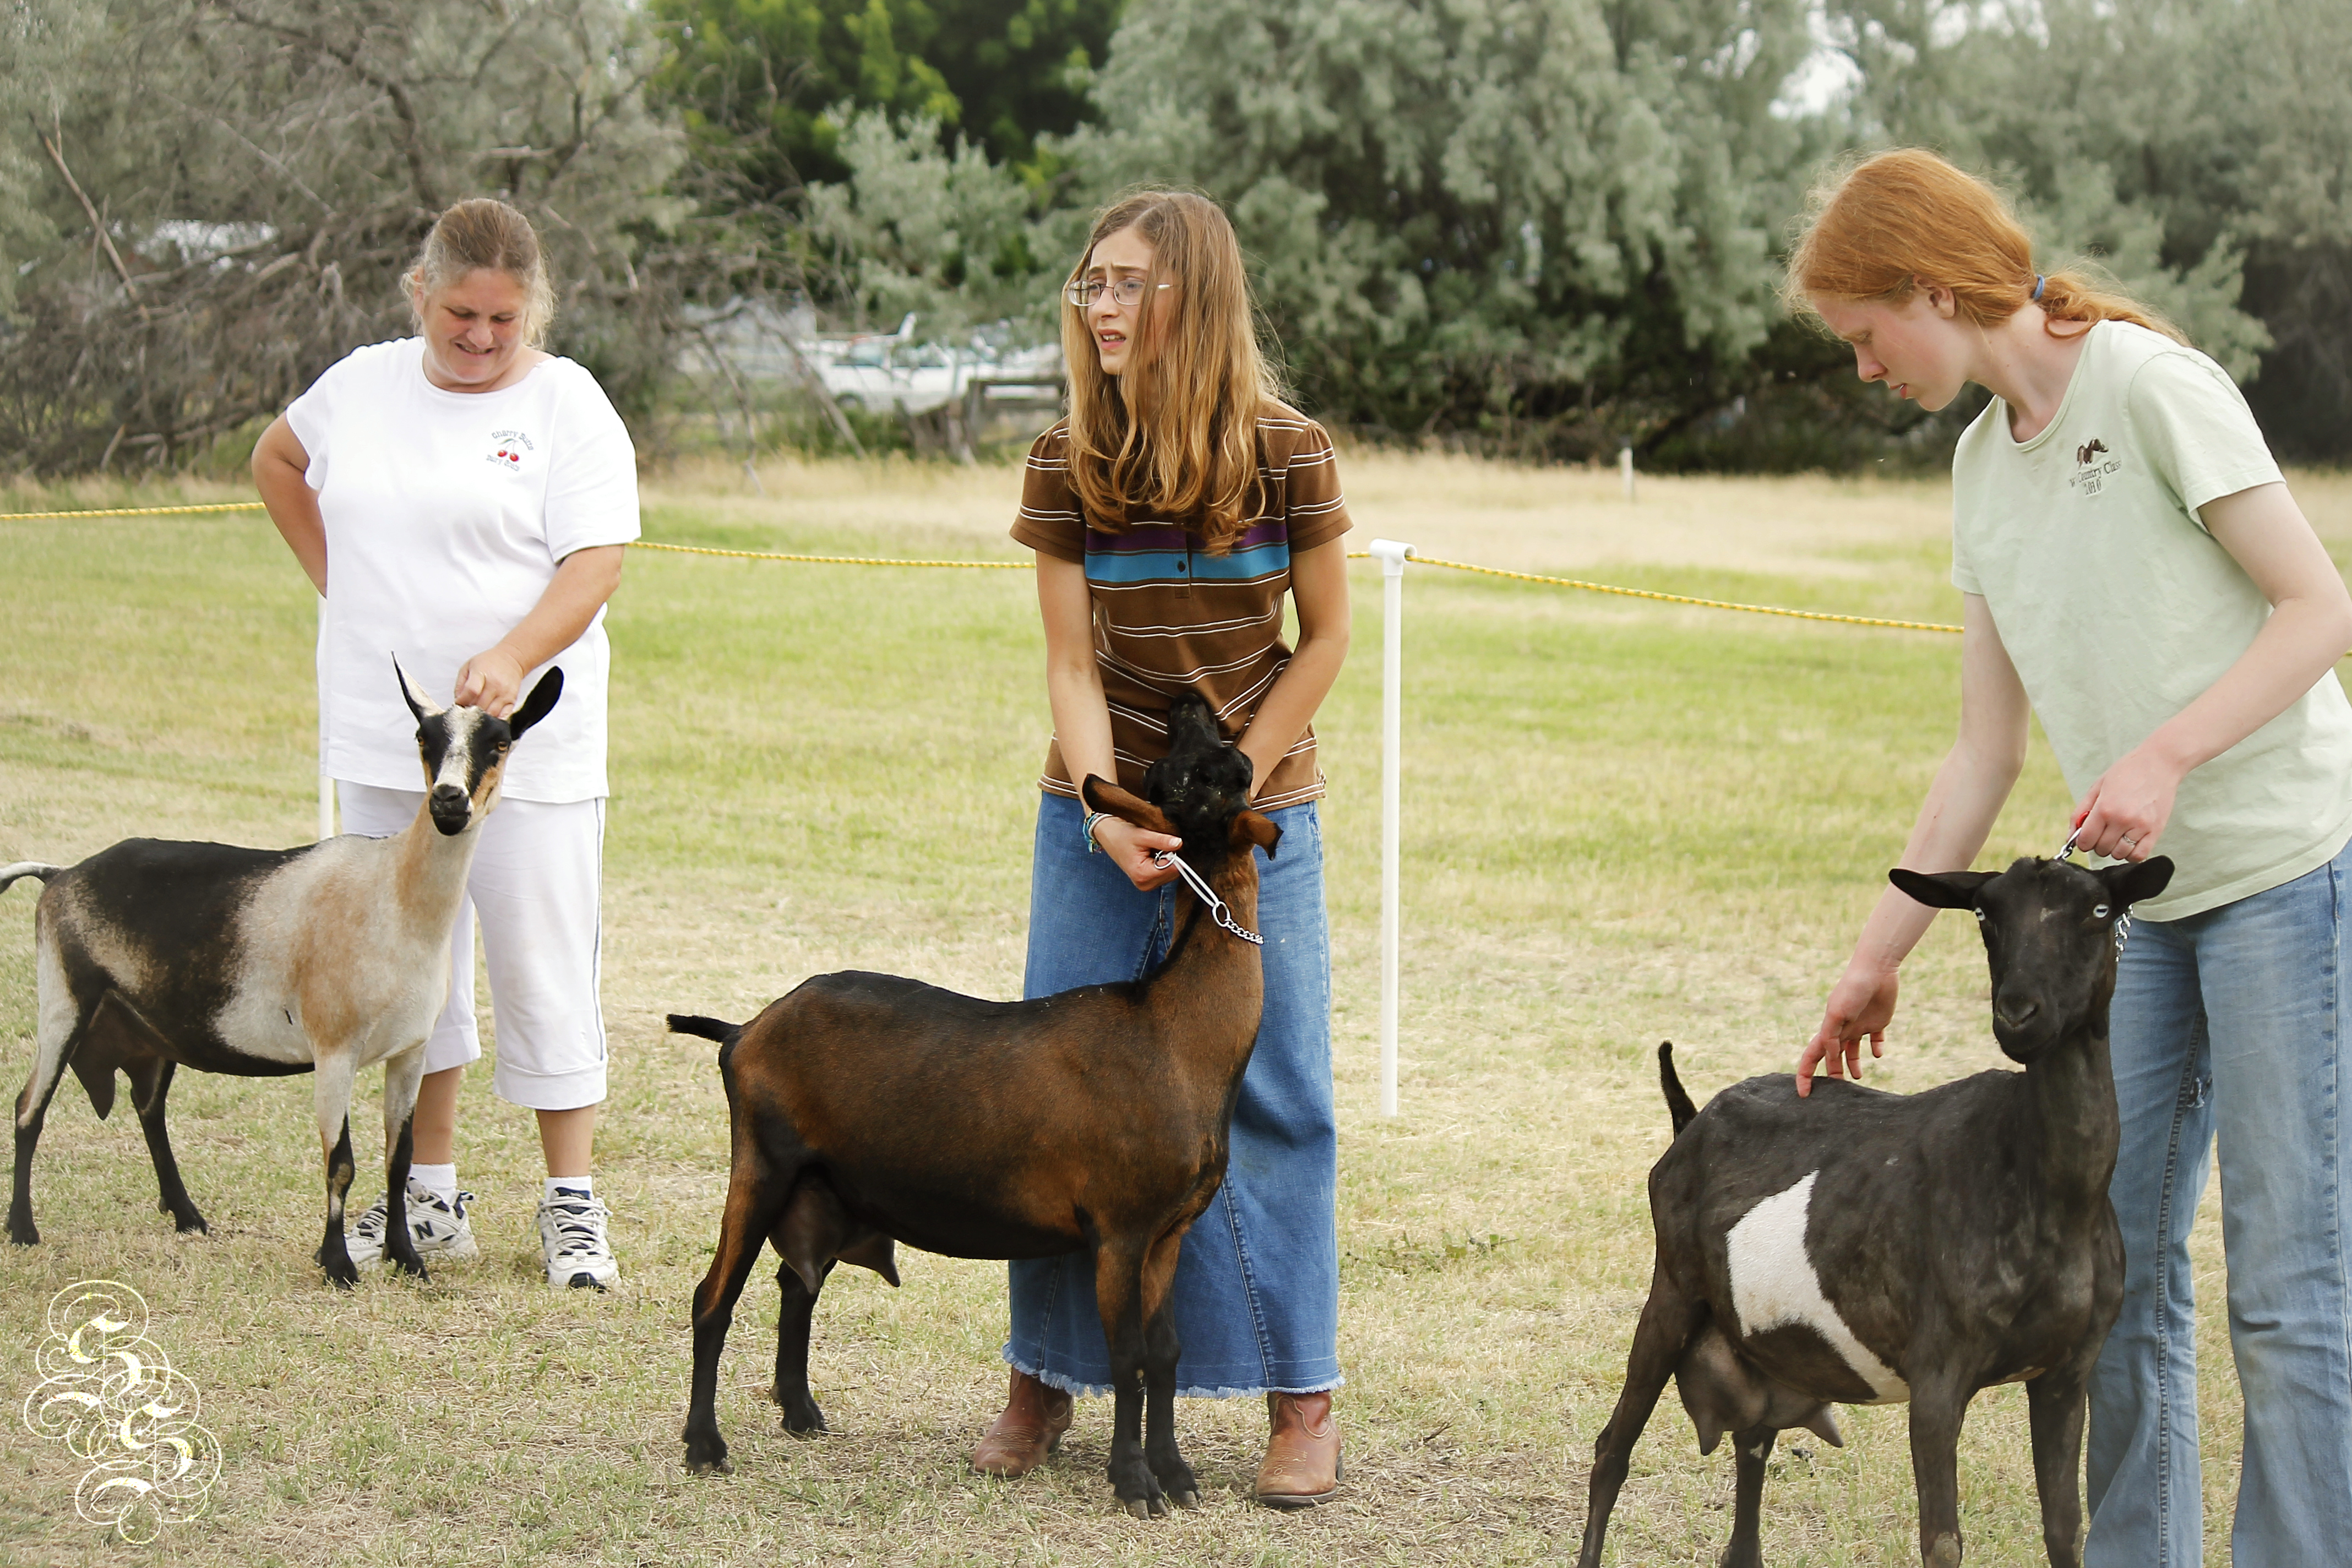
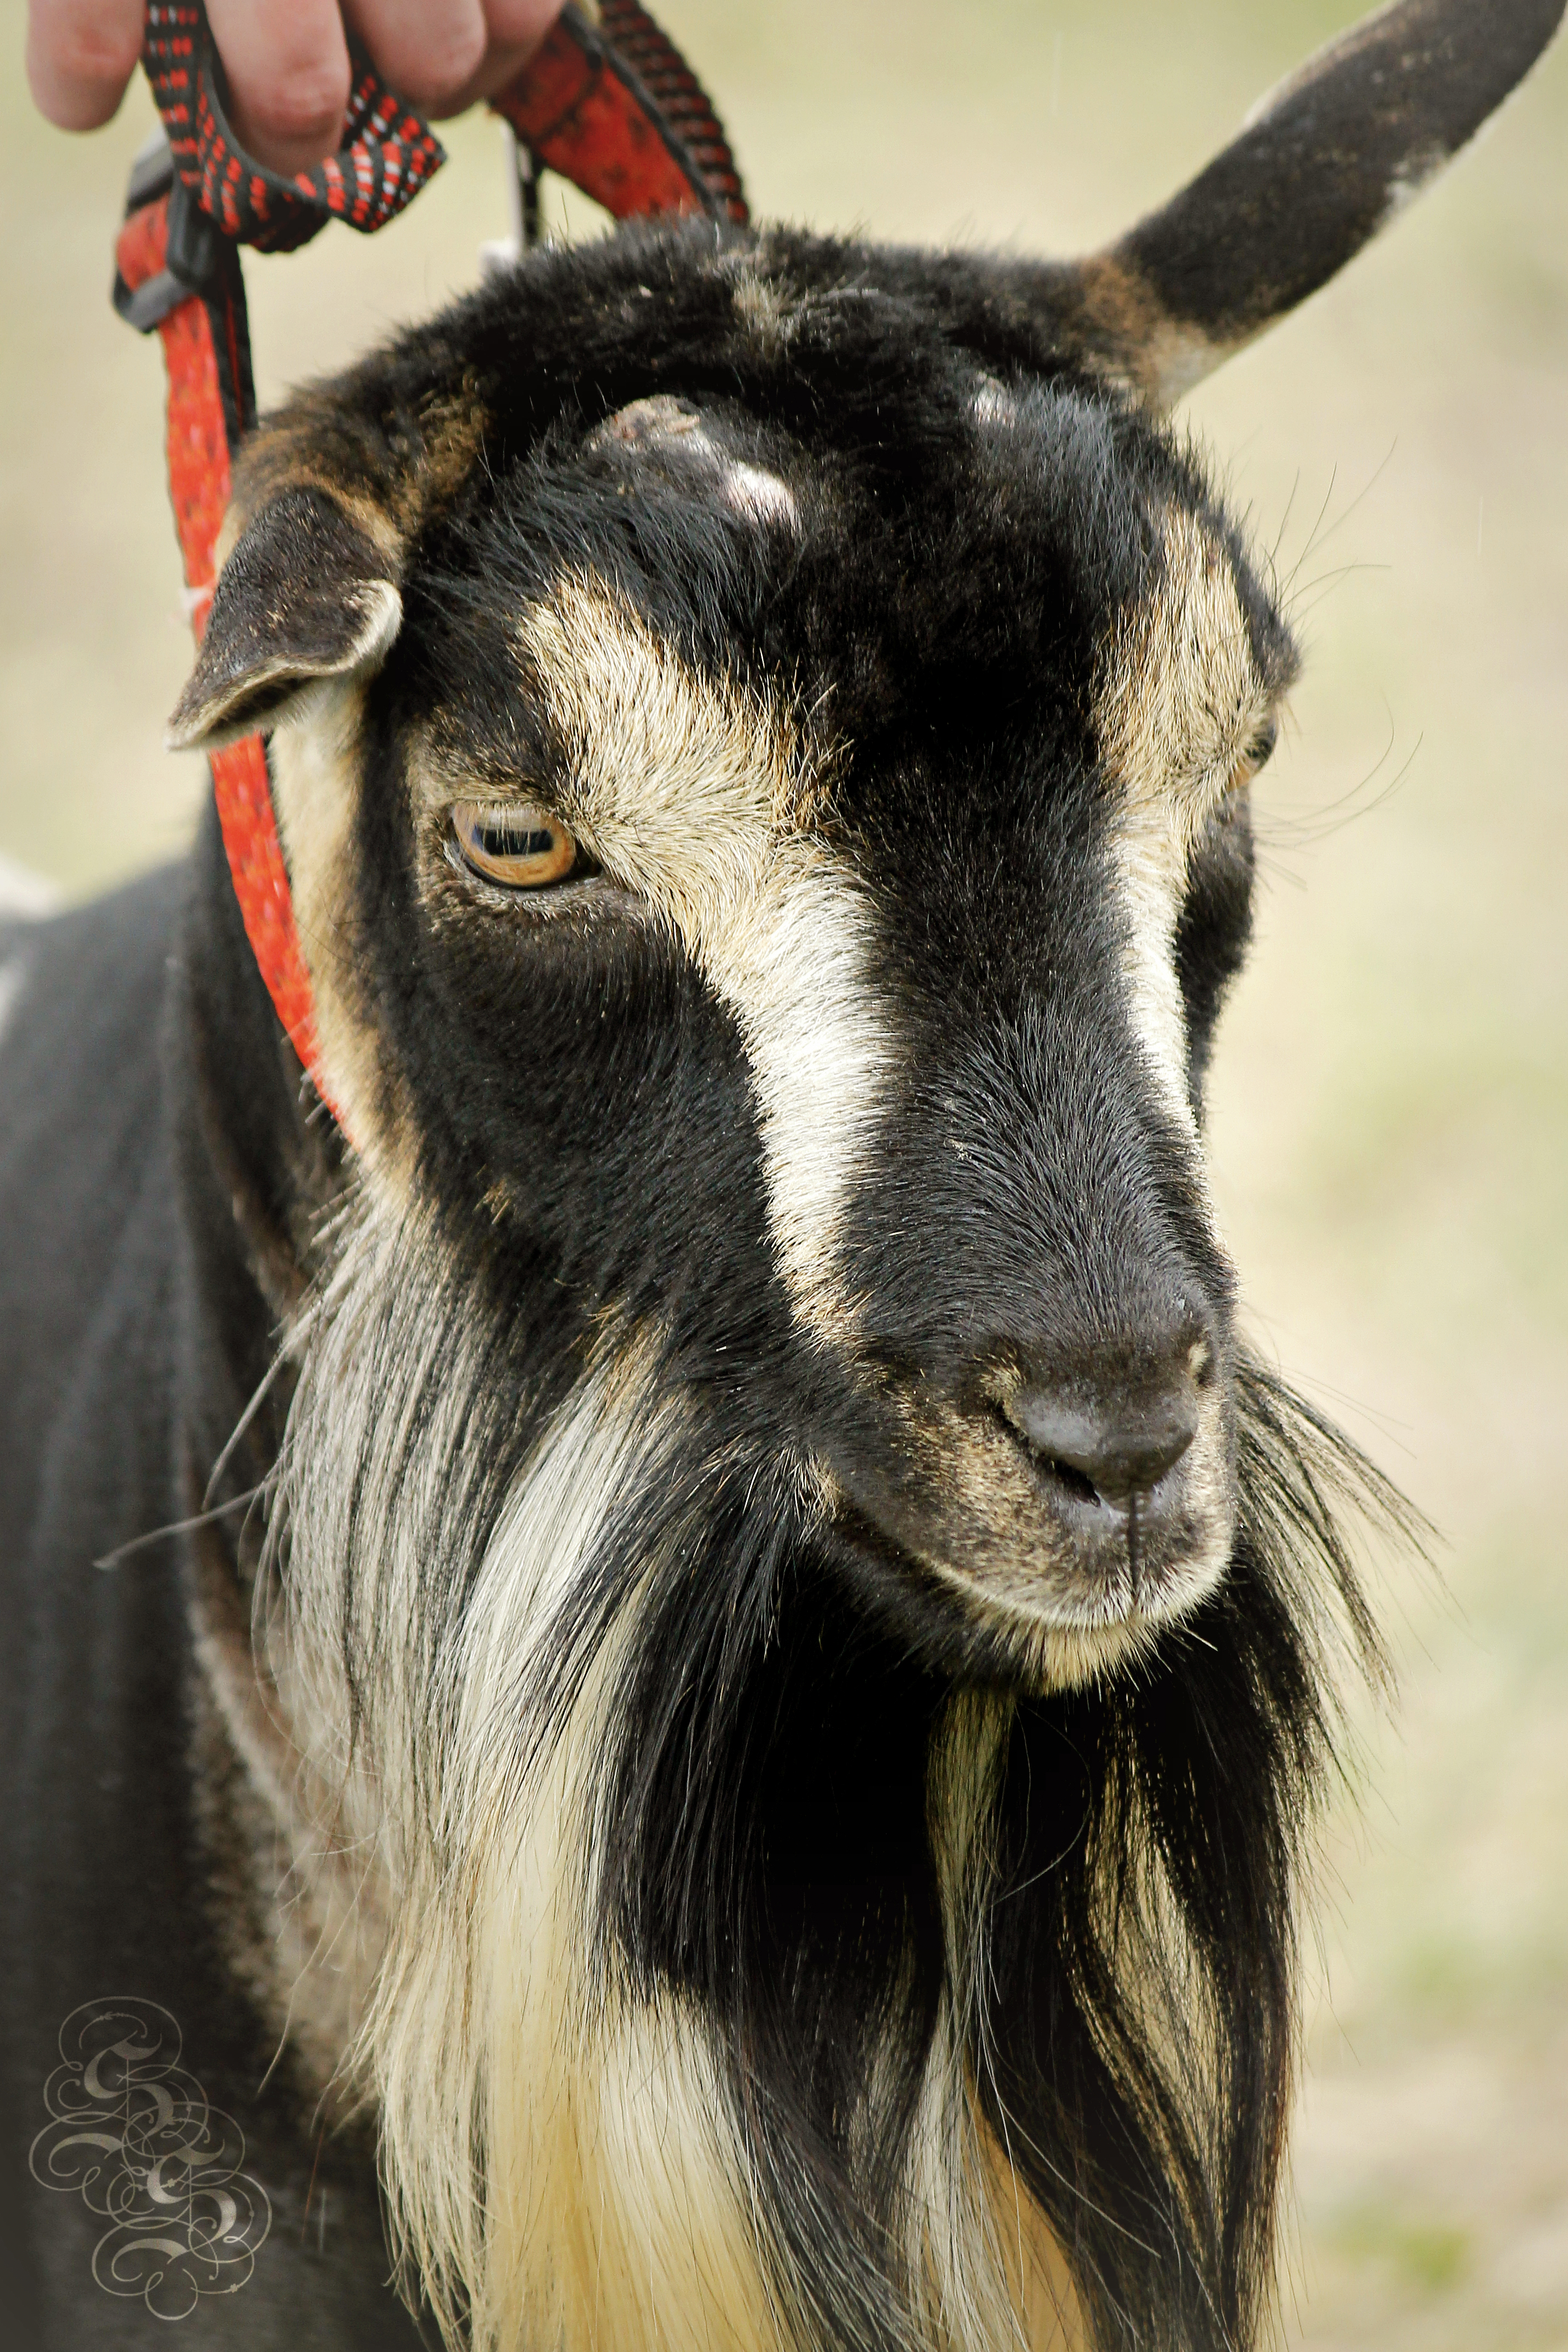
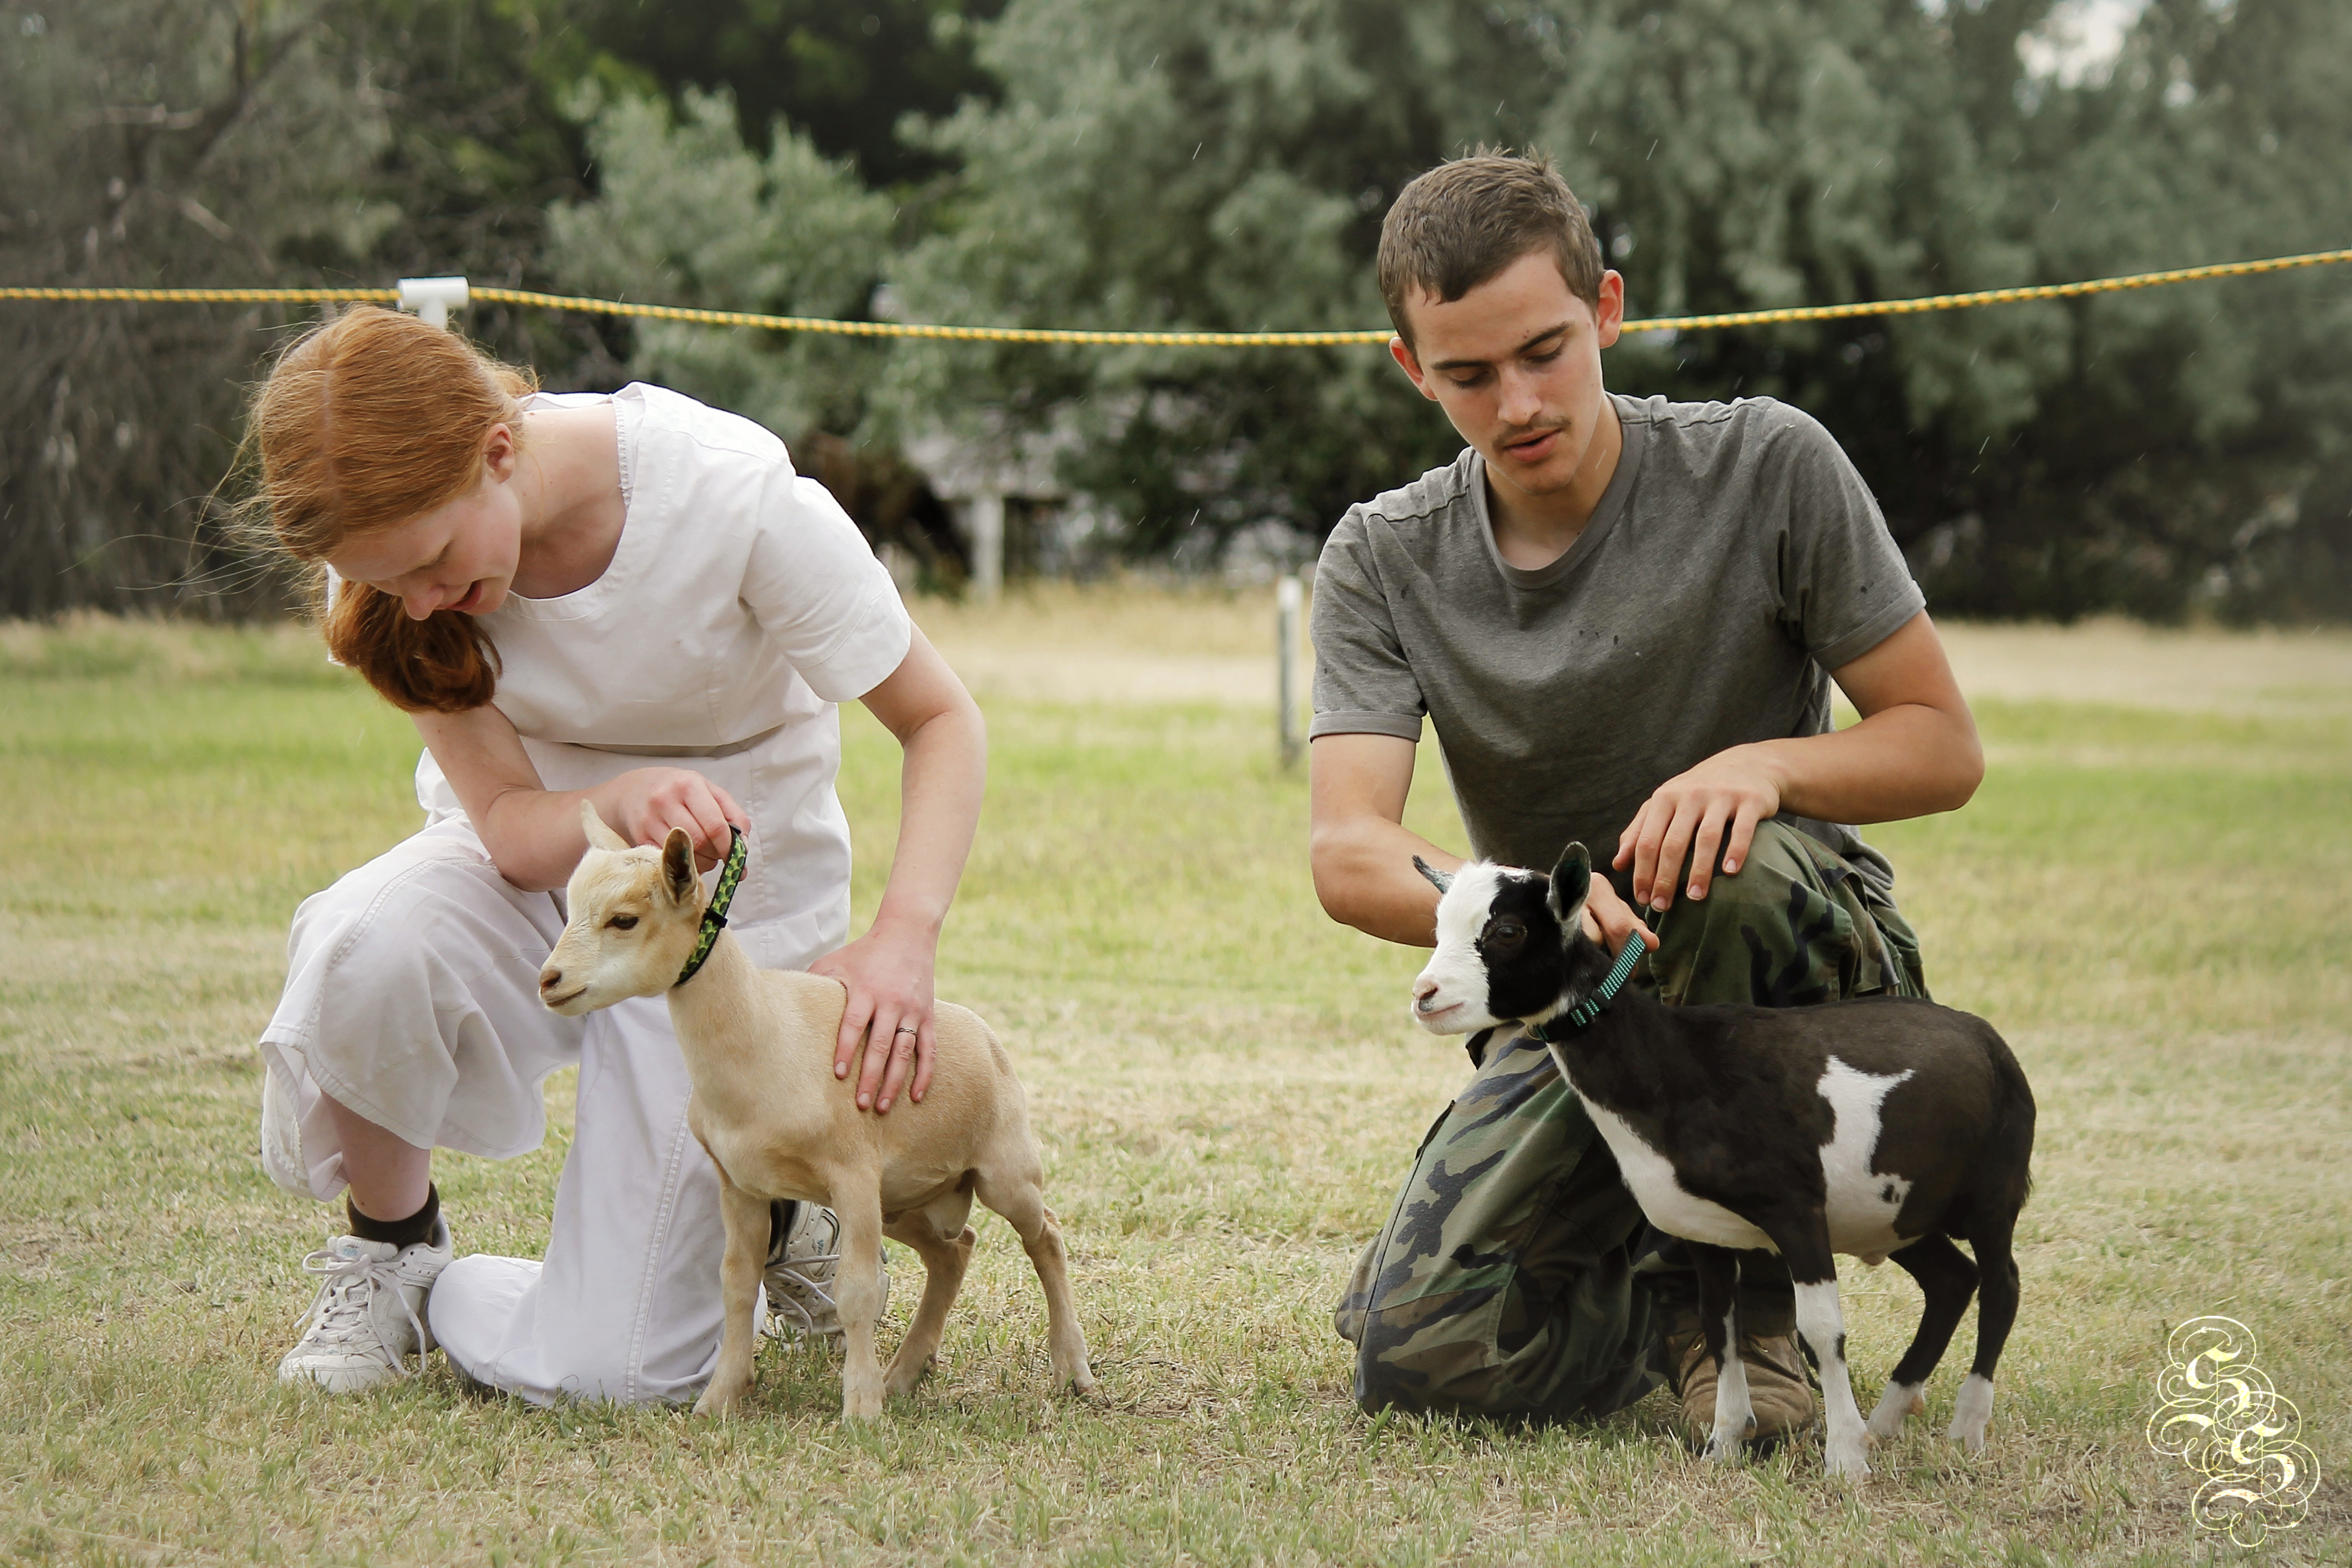
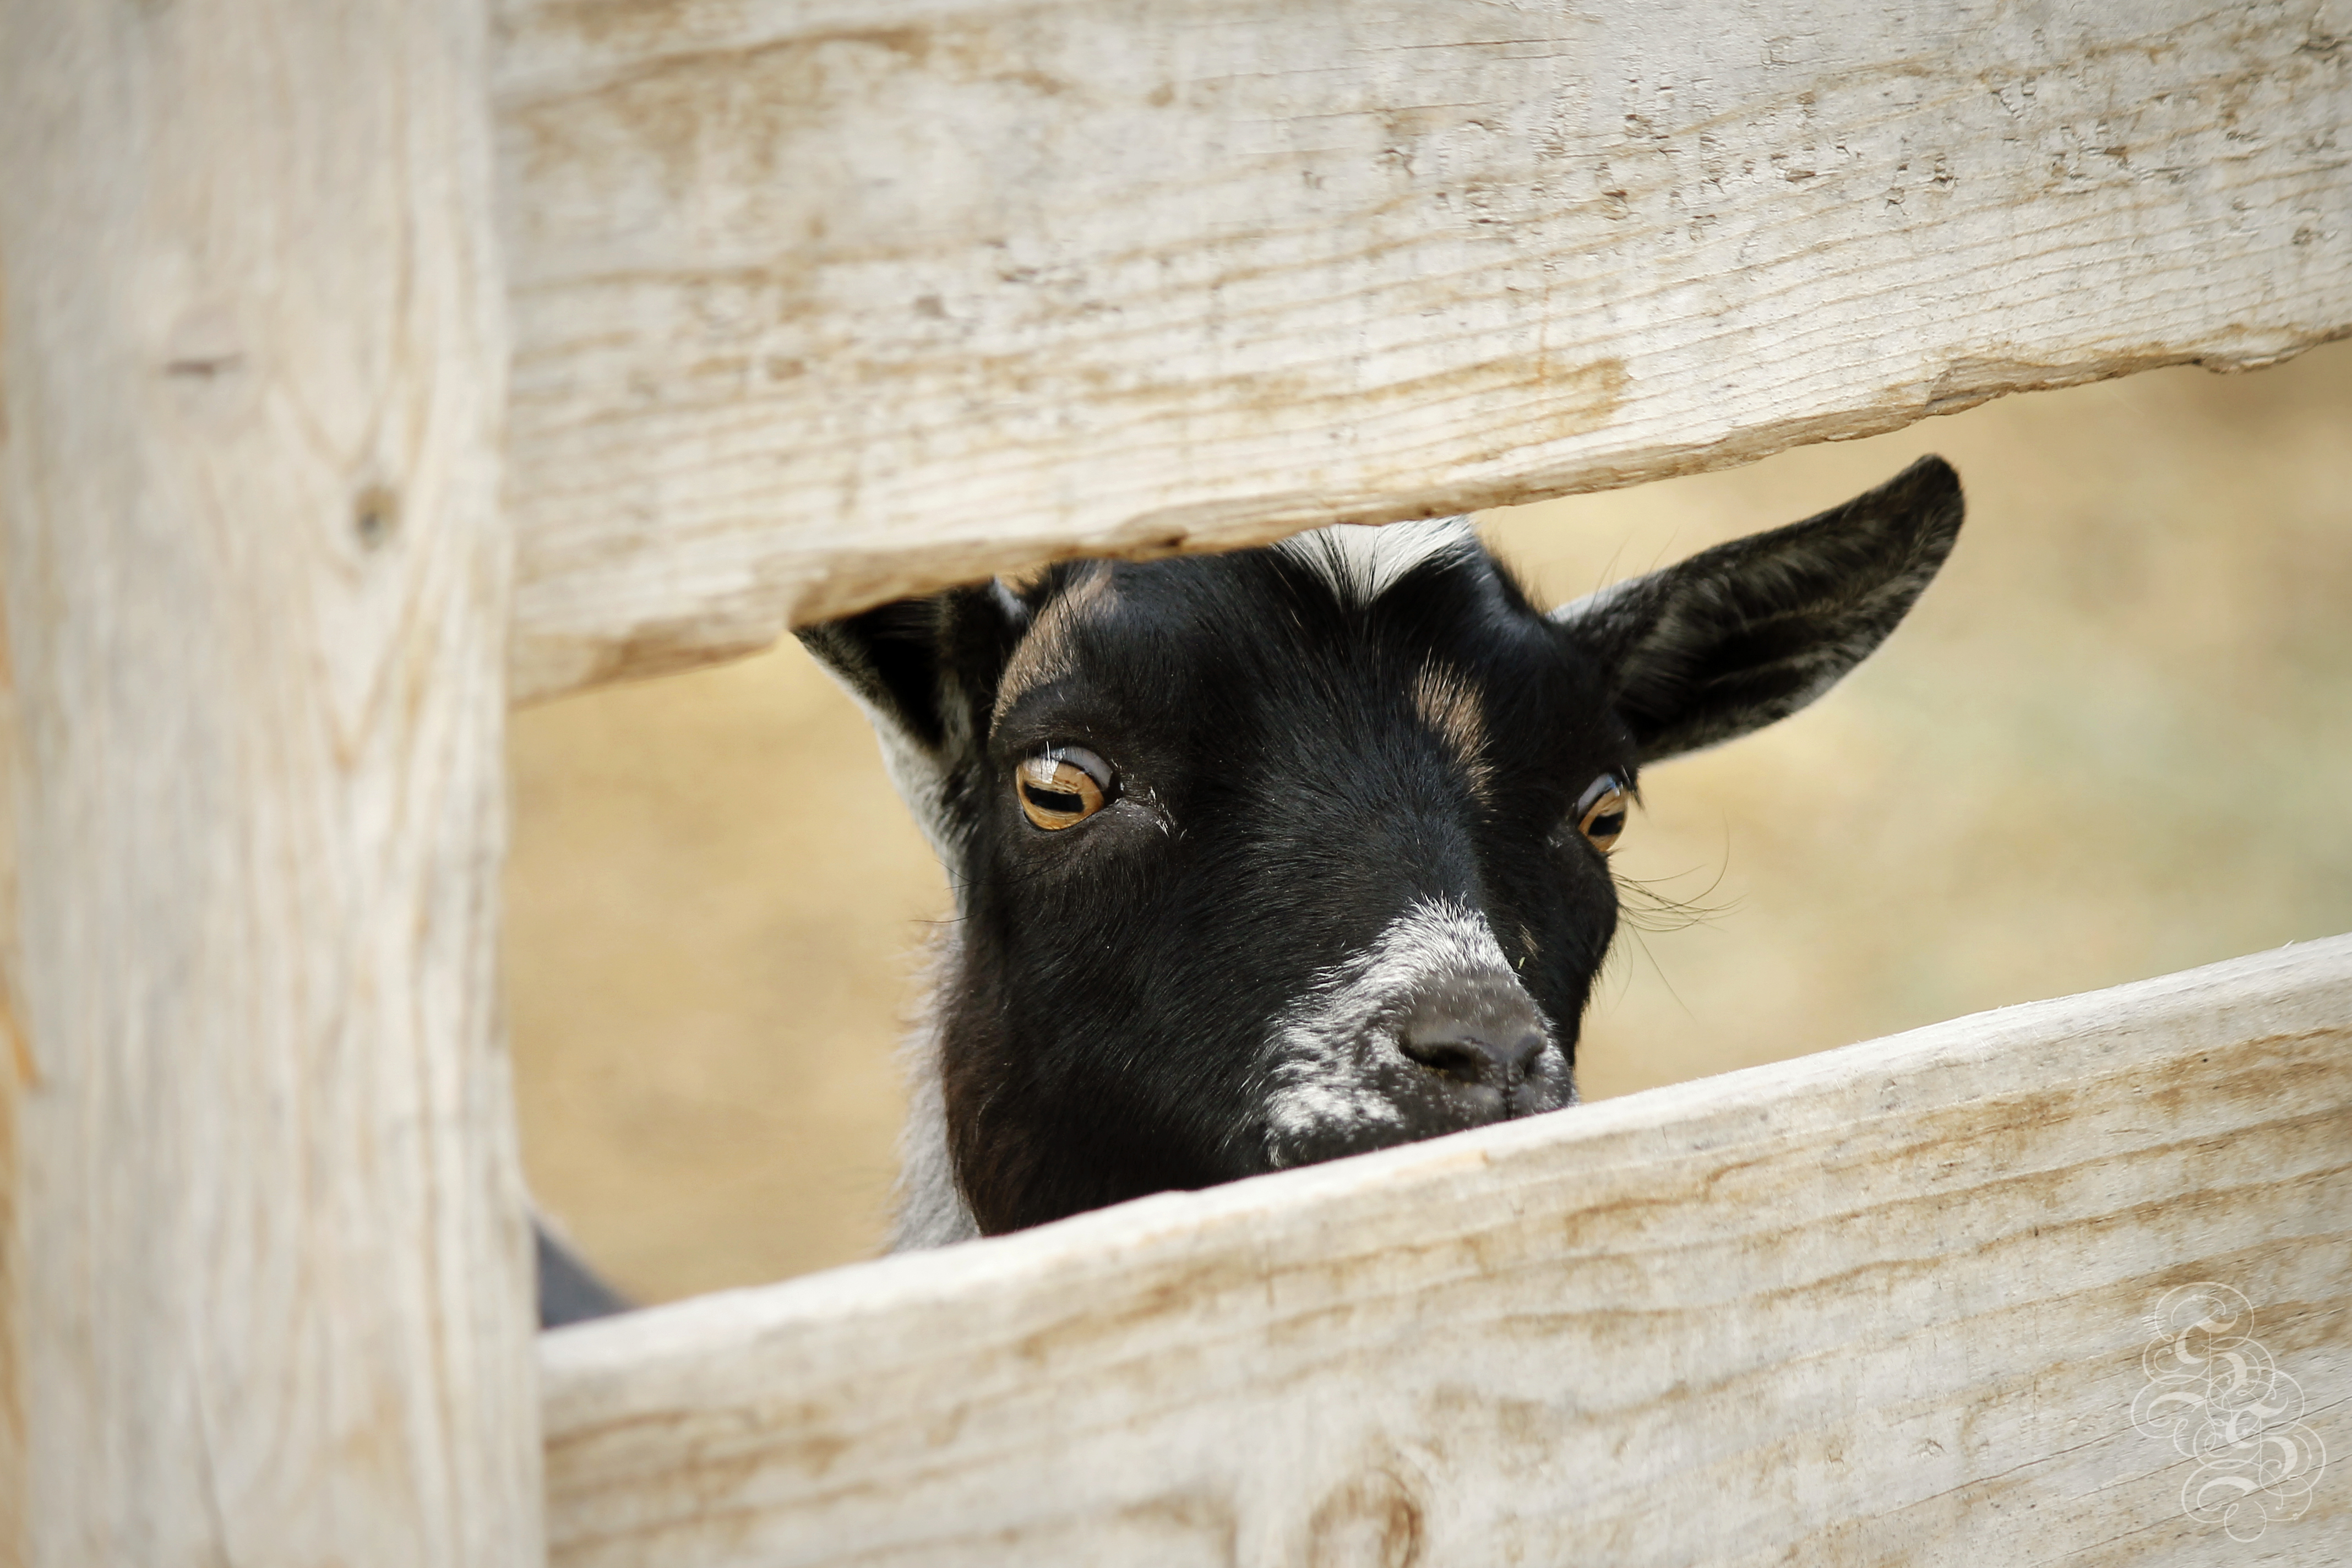
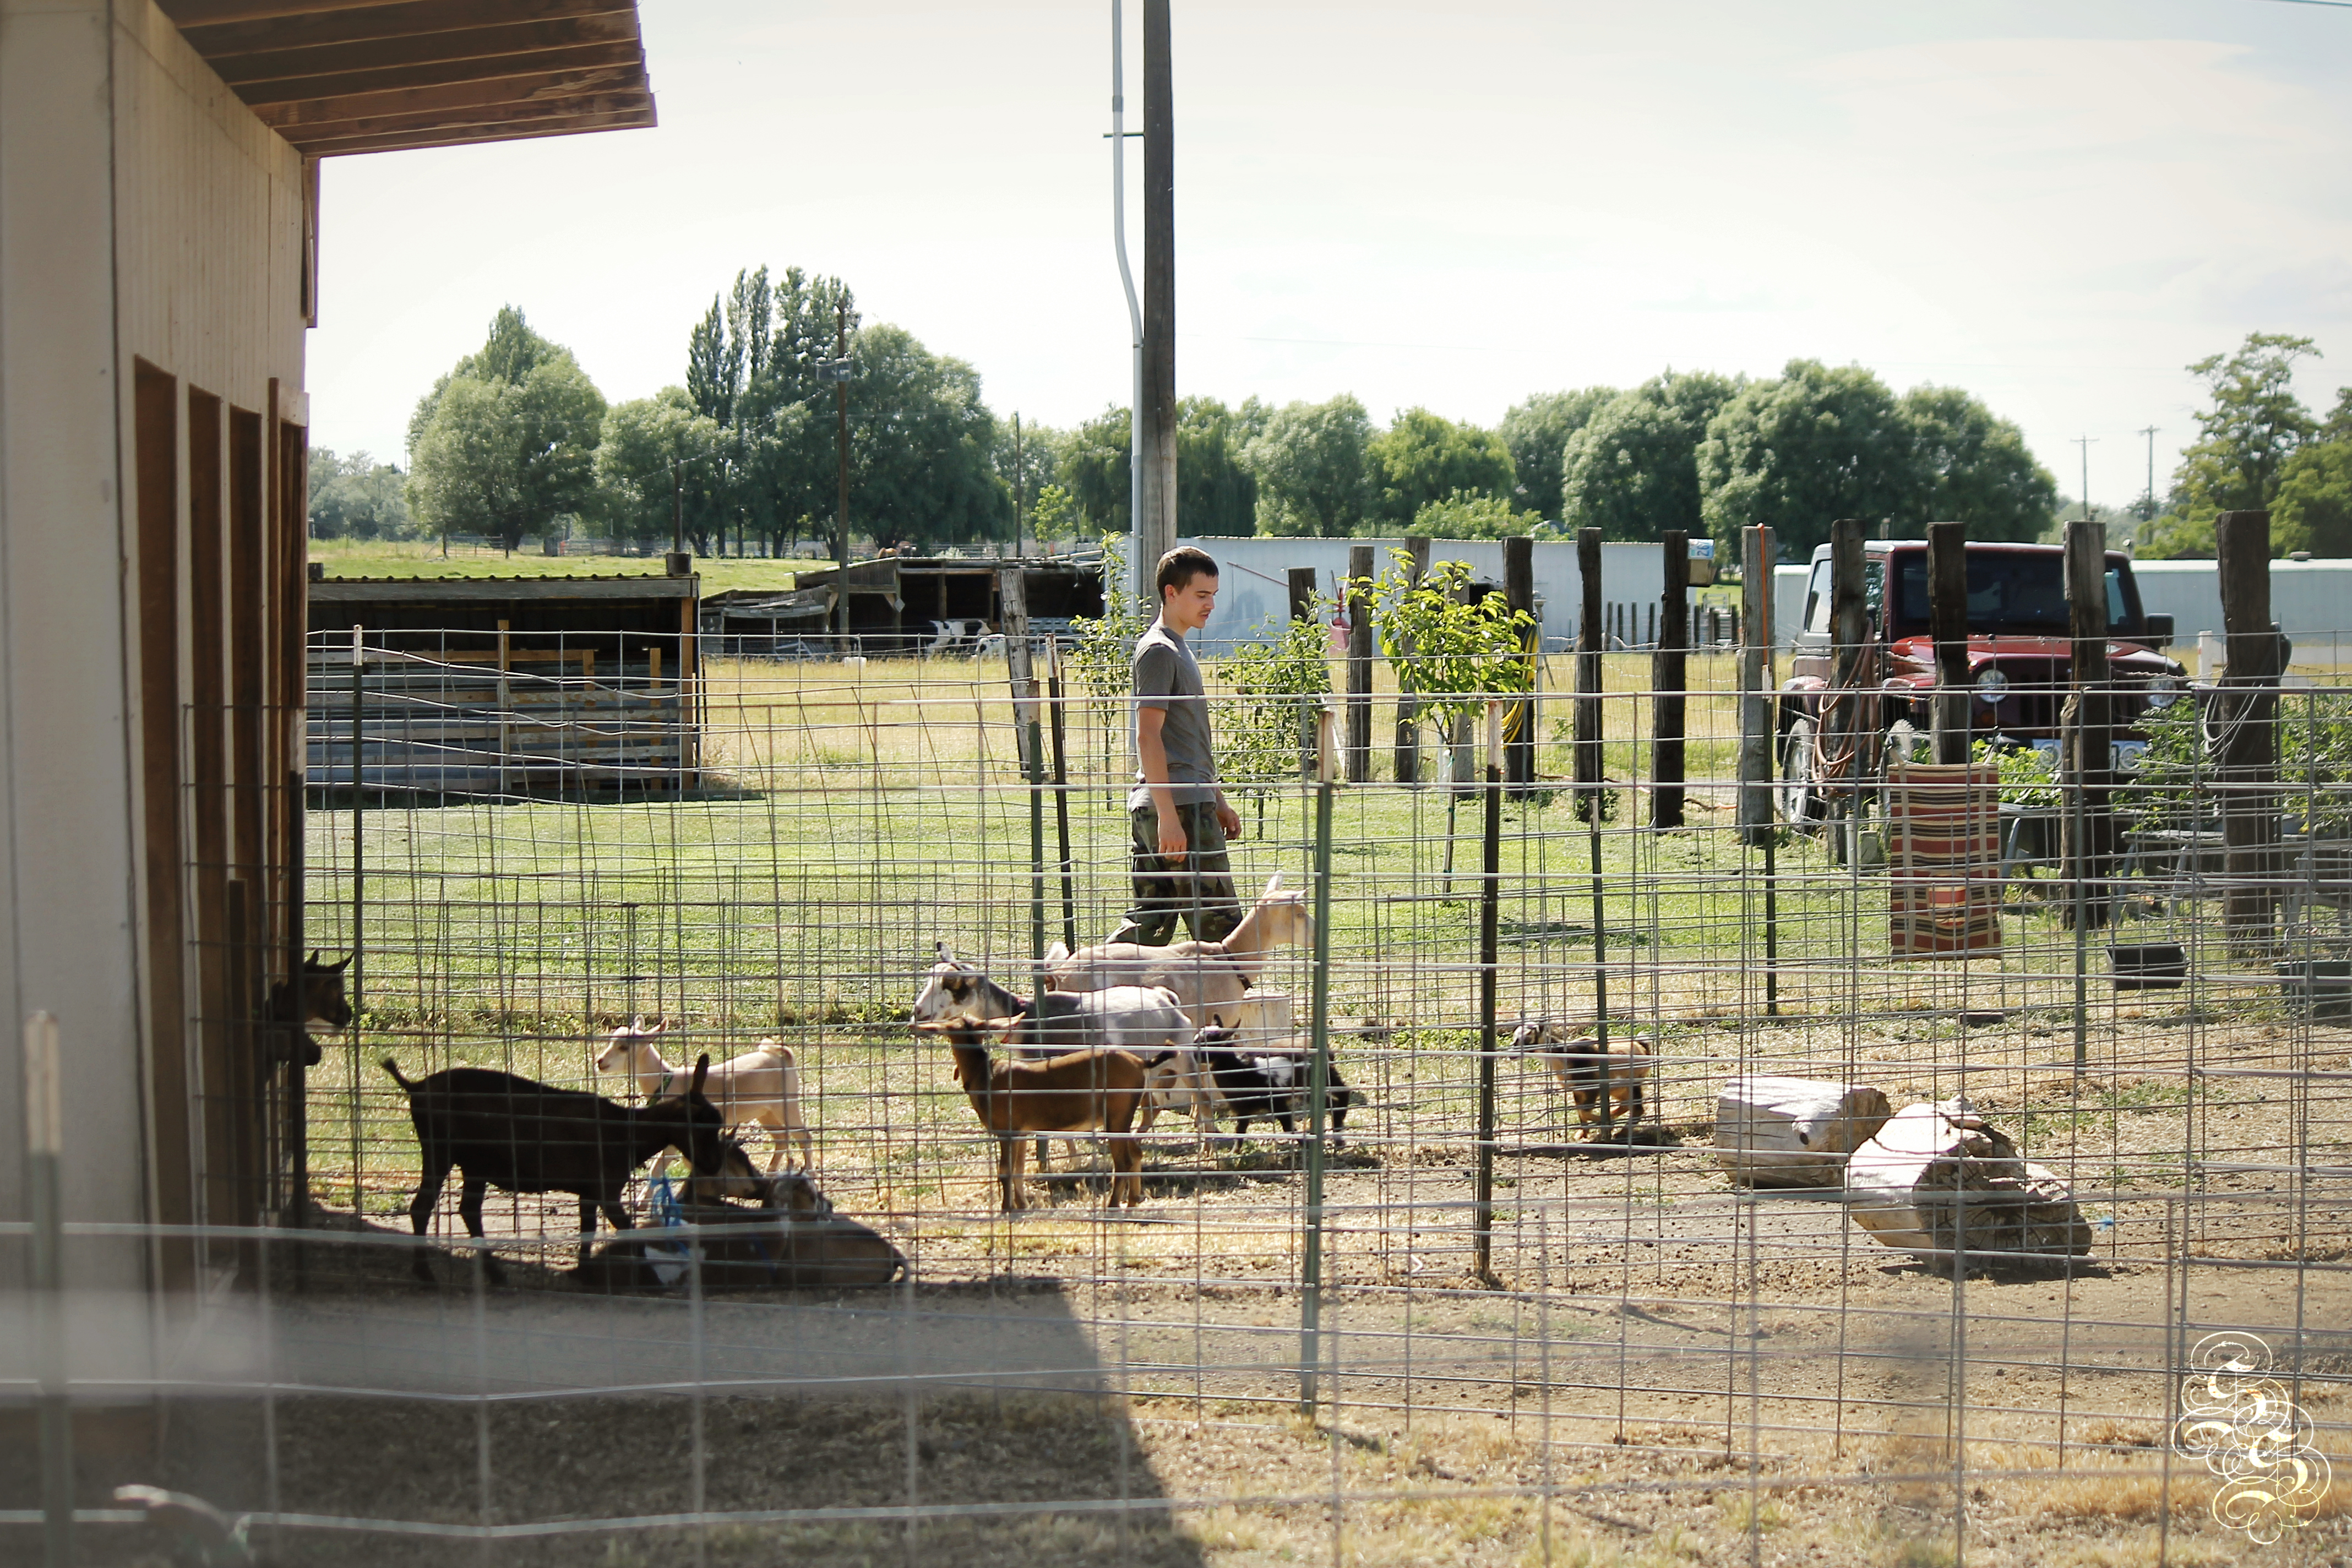
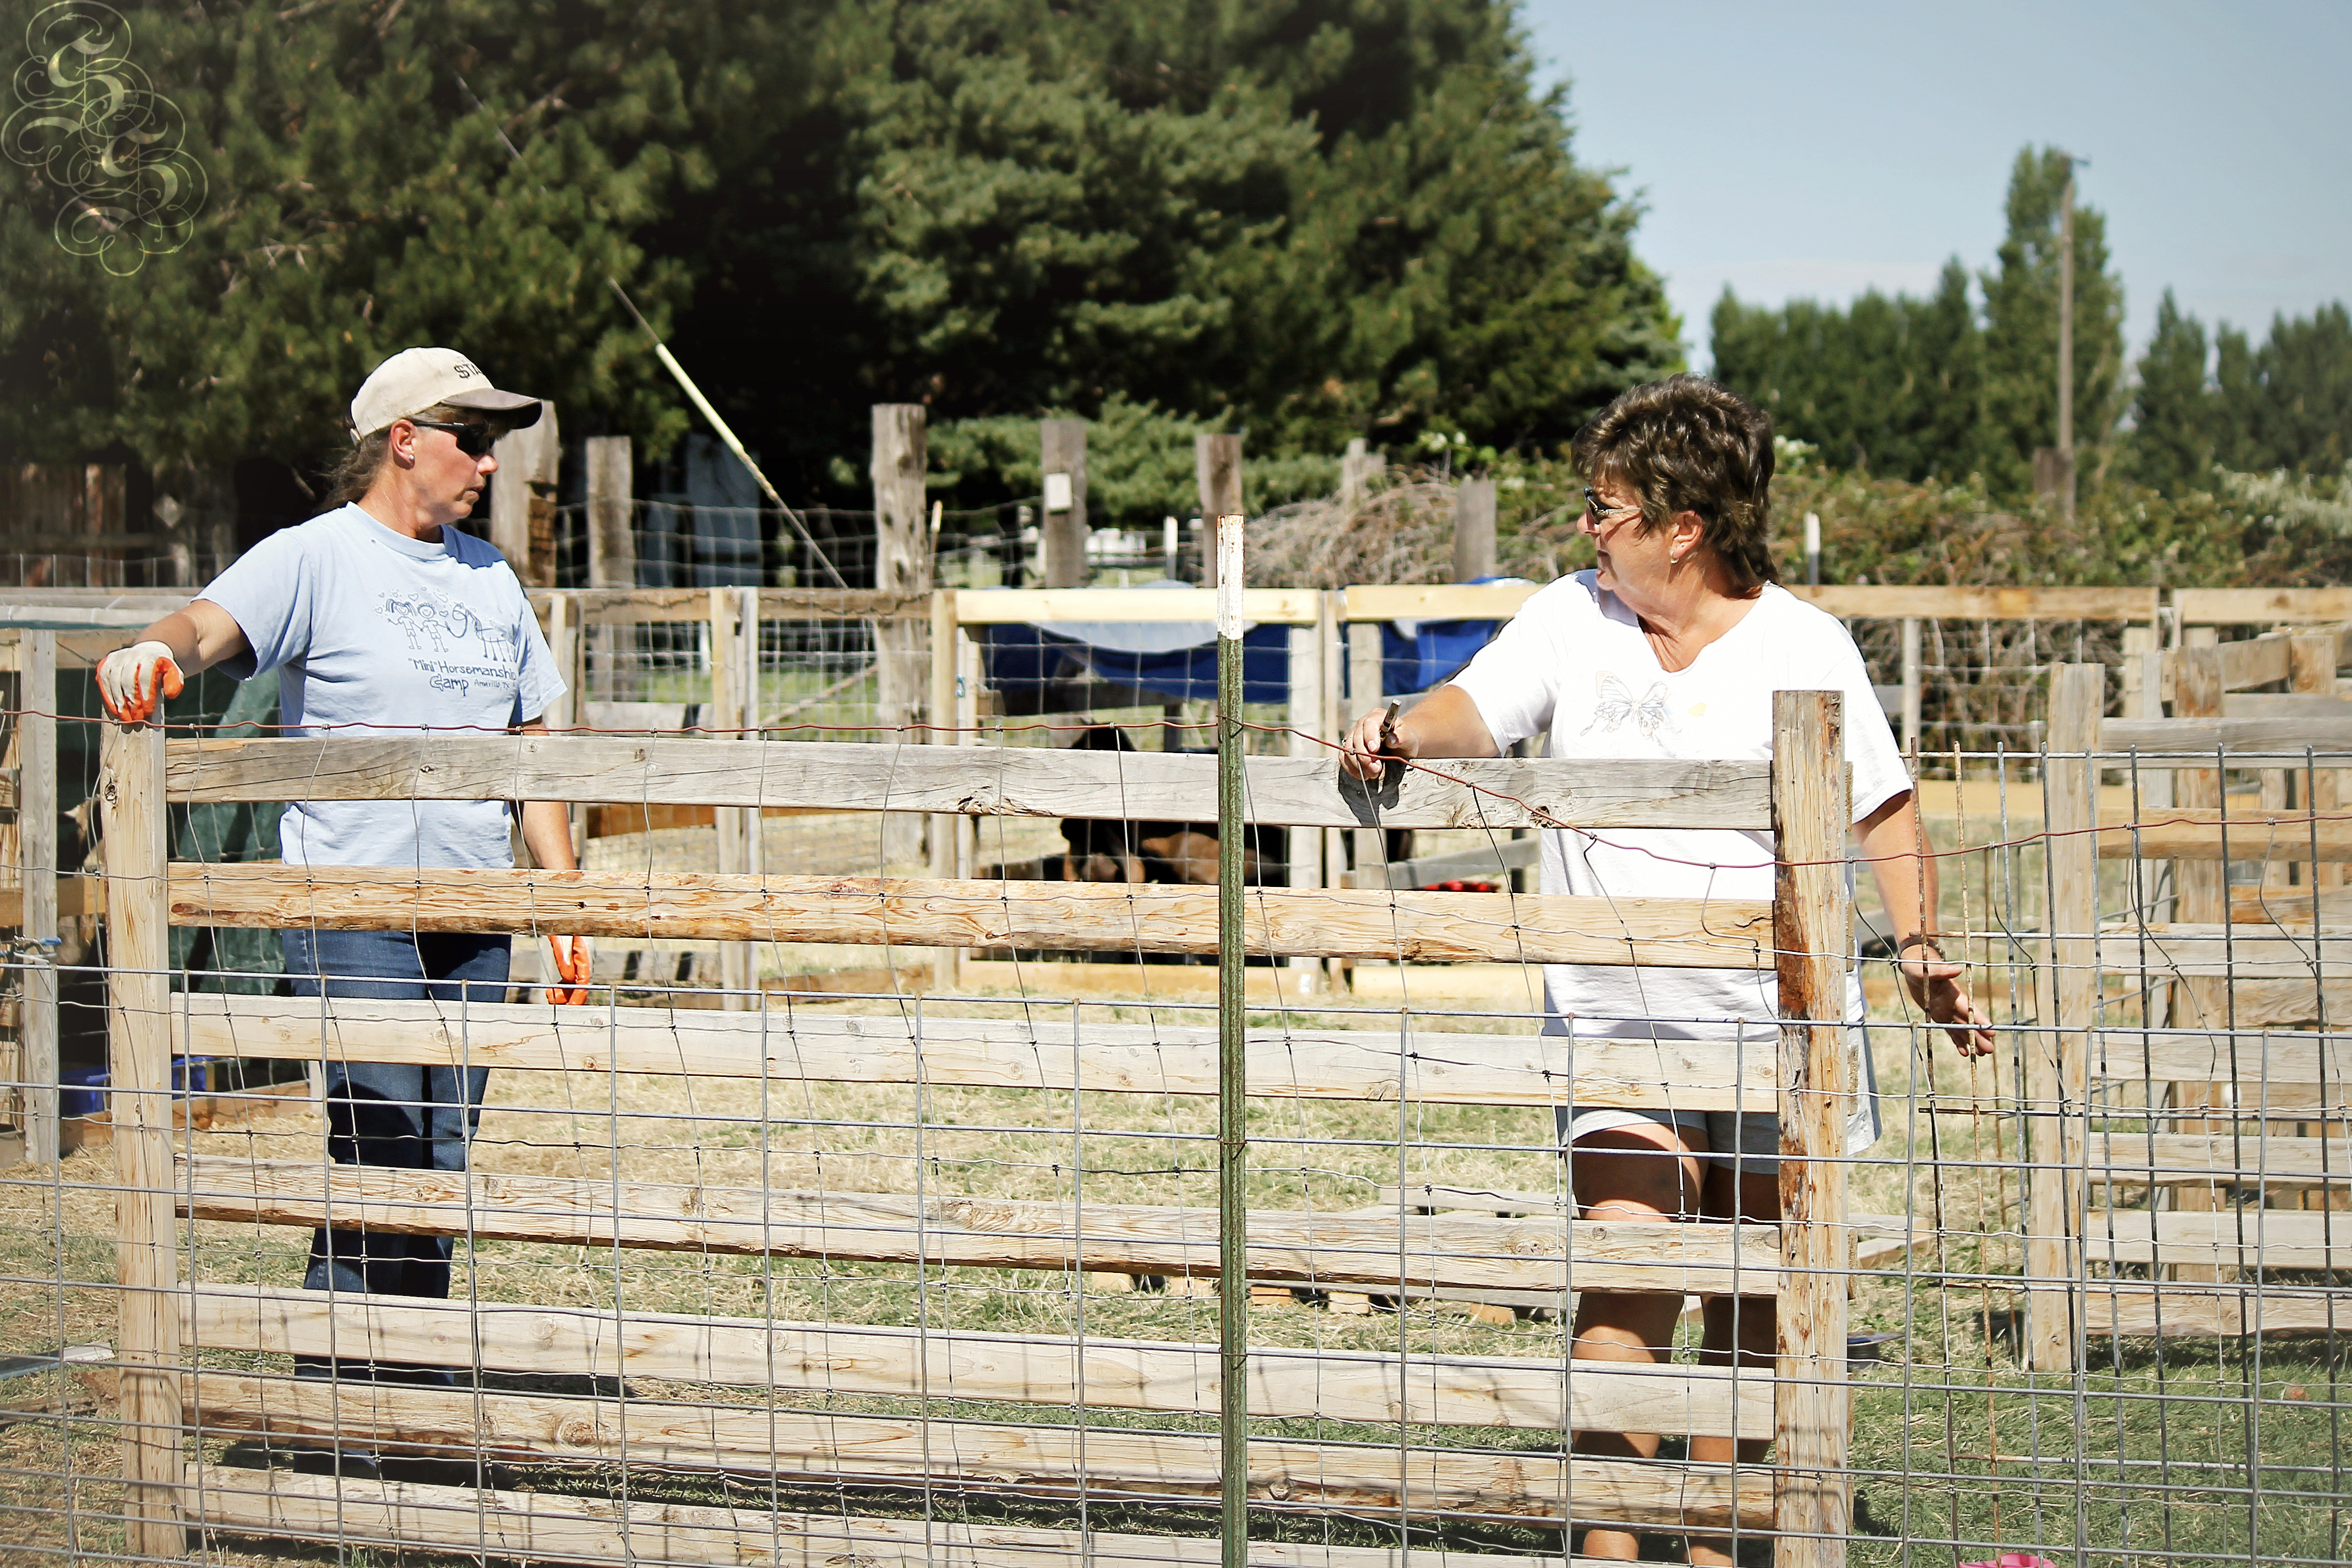
MDGA Goat Show 2012


This is Sarah’s Scenes, Real Life Photographer.
Just a small space for my life and thoughts….
MDGA Goat Show 2012
This is Sarah’s Scenes, Real Life Photographer.
Posted in Misc., My Photos, My Photos: Events, My Photos: Nature
 2 copy")

 2 copy")

I like a very Traditional, classic feel to my photos. I also love candid shots, two of the top four were total candids Anybody care to guess which two are the candids?
This is Sarah’s Scenes, Real Life Photographer.
Posted in Getting Started, Misc., My Photos

Geese

Bittern

Great Blue Heron
These were taken at Ridgefield, Washingtons Wildlife Refuge on April 7, 2012.
This is Sarah’s Scenes, Real Life Photographer.
Posted in My Photos, My Photos: Nature
Here we are, moving up to the next step in being artistic with your photography. Today we are going to start doing more manual stuff, still in the Program Mode. This will help keep you from underexposing or overexposing your photos (we’ll talk about exposure soon).
The ISO levels will affect how bright or dark and image is, but also how saturated the colors are.
Most cameras, at least that I have handled, have ISO levels going from 100 up to 6400.
Levels 100 to 200 is great for daylight, you only need a little bit. I will usually have it set for 100 unless there’s a lot of shadows, or the image just doesn’t quite look as it should.
400 is good for evenings and moderate light.
800 to 1600 are good for evenings with little, or just not very good, sort of light.
3200 to 6400 are what you use when it’s especially dim light, almost dark out.
Some warnings go with these levels. The higher the ISO levels the more “noise” you’ll get in your pictures.
Noise is what we cal it when you zoom in on your pictures and you see a lot of little dots (or squares) that aren’t the right color, some will almost look red. When looking for noise in an image you’ll want to look in the shadows where it tends to be very dark, but when Noise is present it shows up as pixely red-ish dots. Sometimes you won’t notice this untill you’ve pulled your picture up an a larger screen, like you computer monitor.
This noise can make your images look grainy. Pixely is another term I’ve heard used a lot. You want your pictures to be nice and smooth, with a more realistic effect. Here’s a couple of photos showing “Noise” versus “neutral” or “smooth”…

Noise, look in the shadows and you can really see it.

No Noise, nice and smooth colors, the black is totally black..
Sometimes you really won’t have much of a choice on how high an ISO you want to use, some lighting situations demand a higher ISO. but when you can try to stick below ISO 400 at the highest, this will prevent all that “noise.”
This is Sarah’s Scenes Real Life Photographer.
Lesson: watch the ISO, look out for Noise. Be creative, but be careful, and, of coure, have fun with it 😀
Posted in Getting Started