
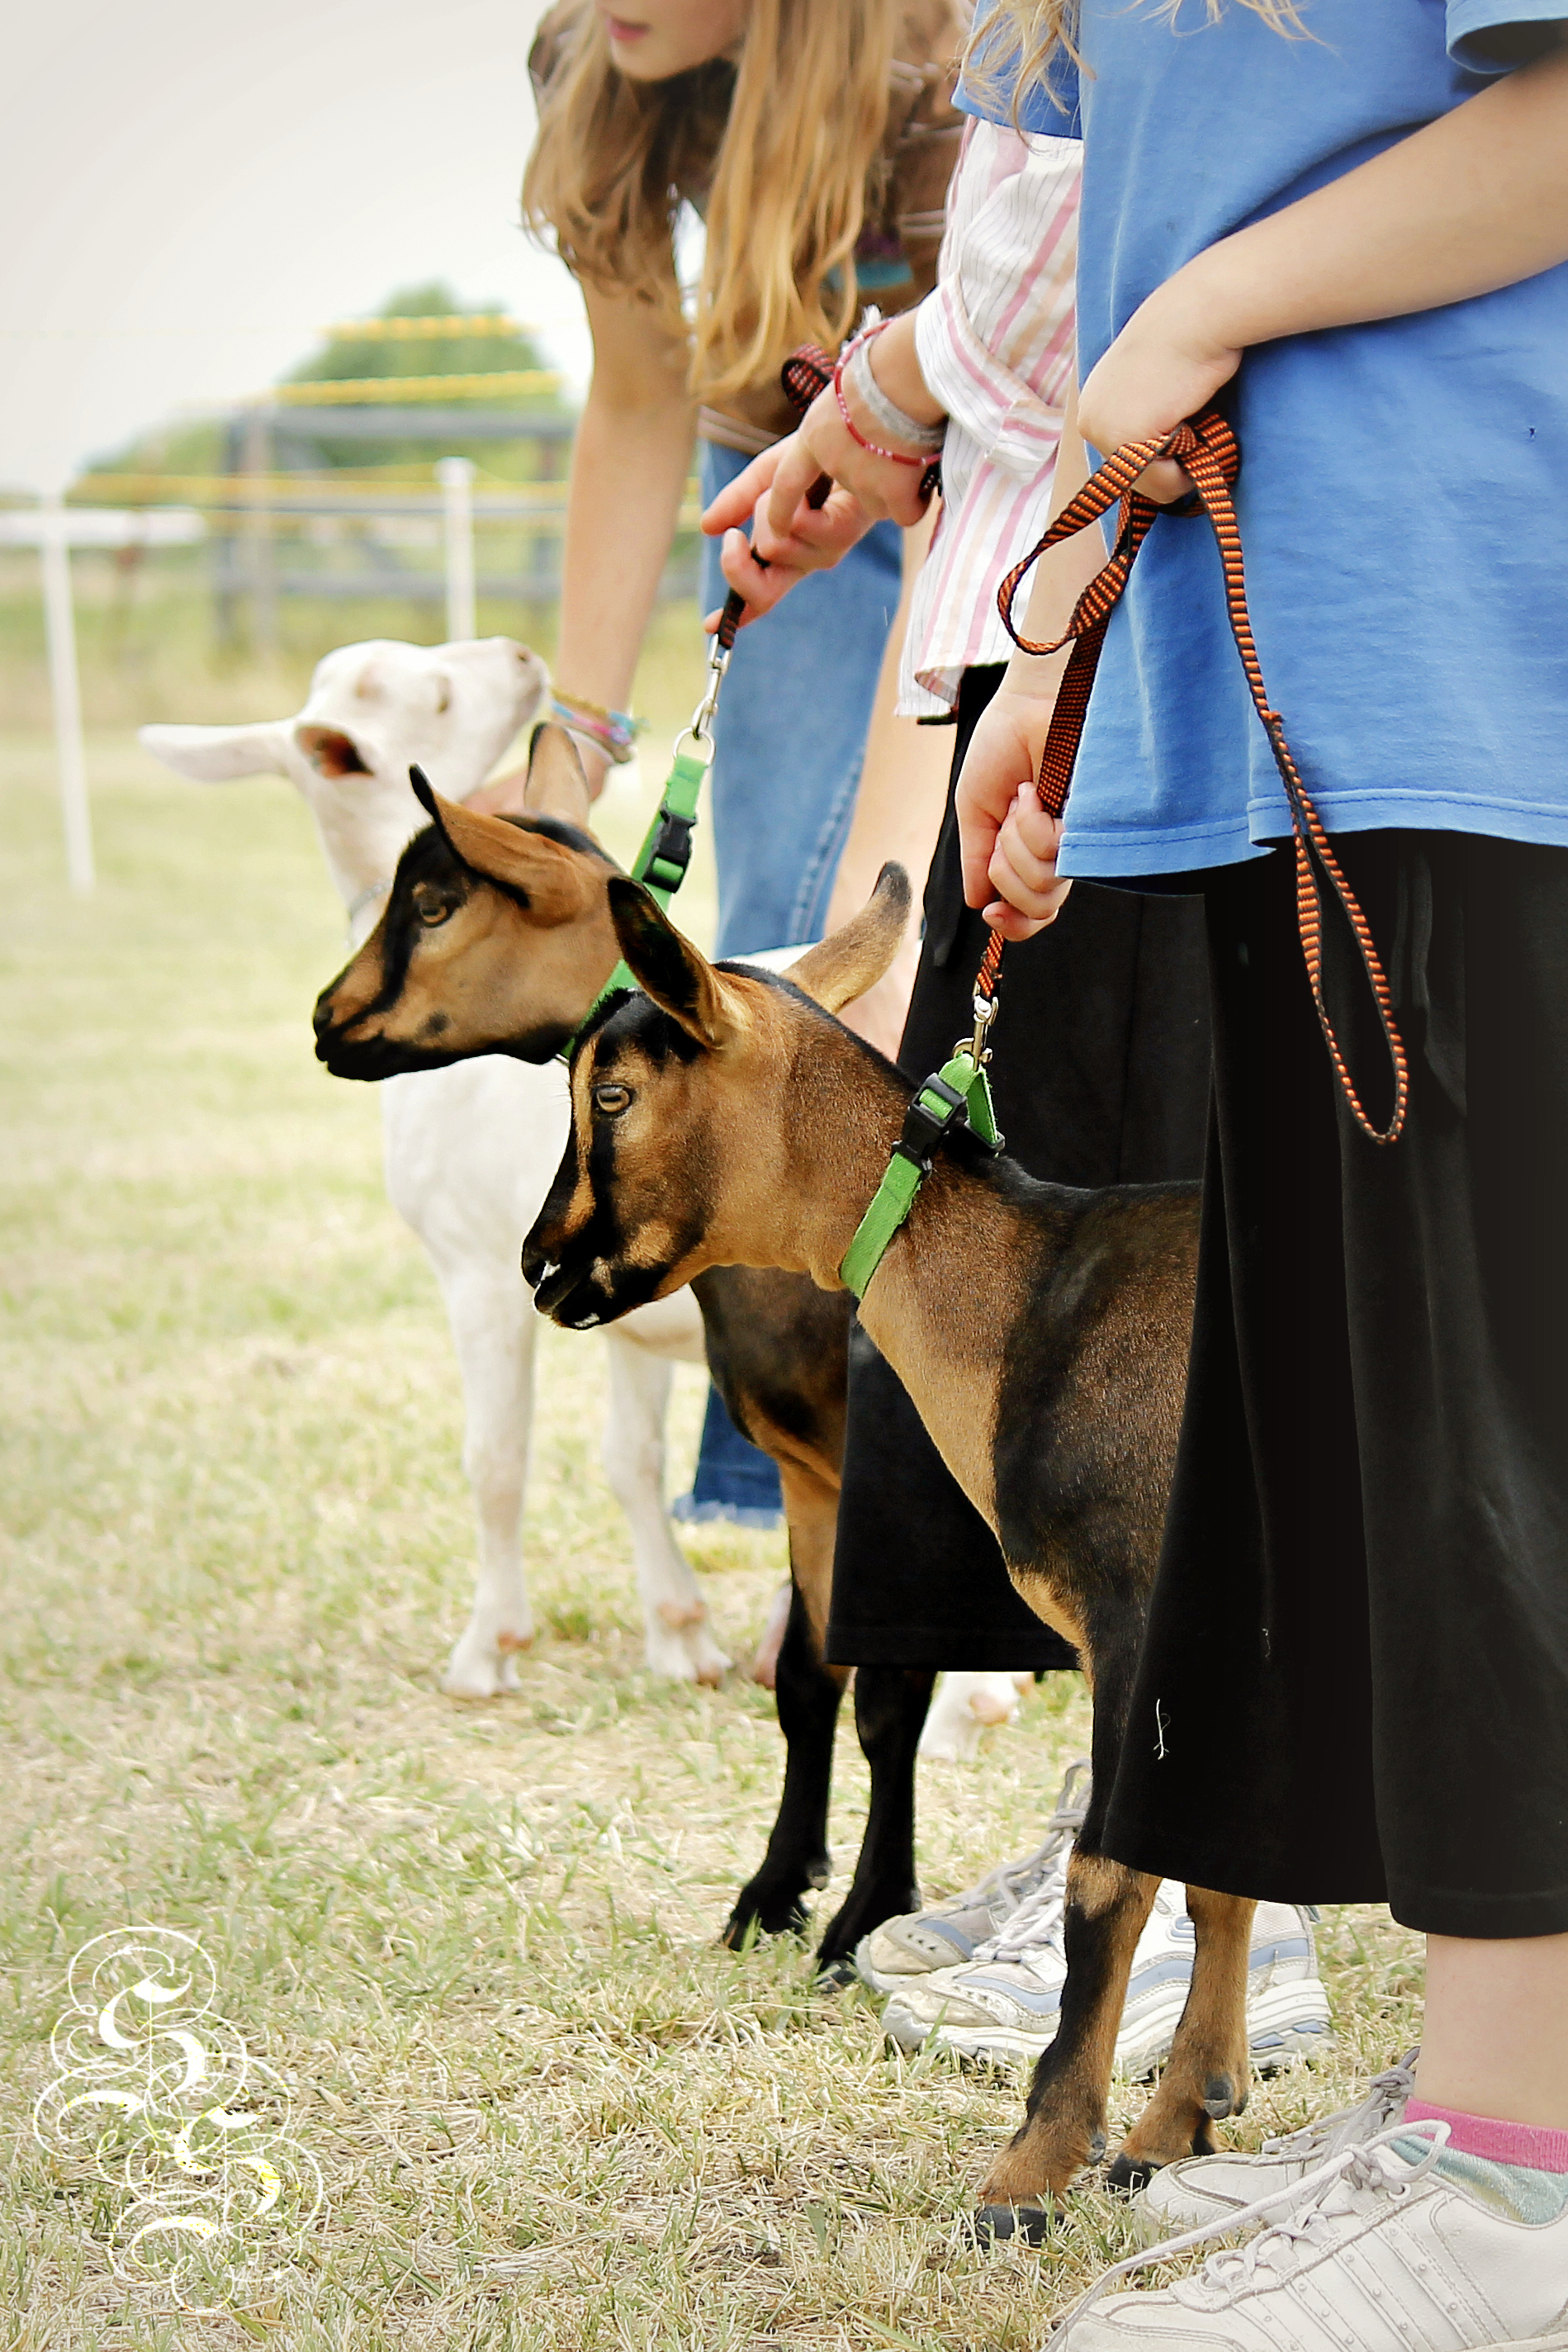
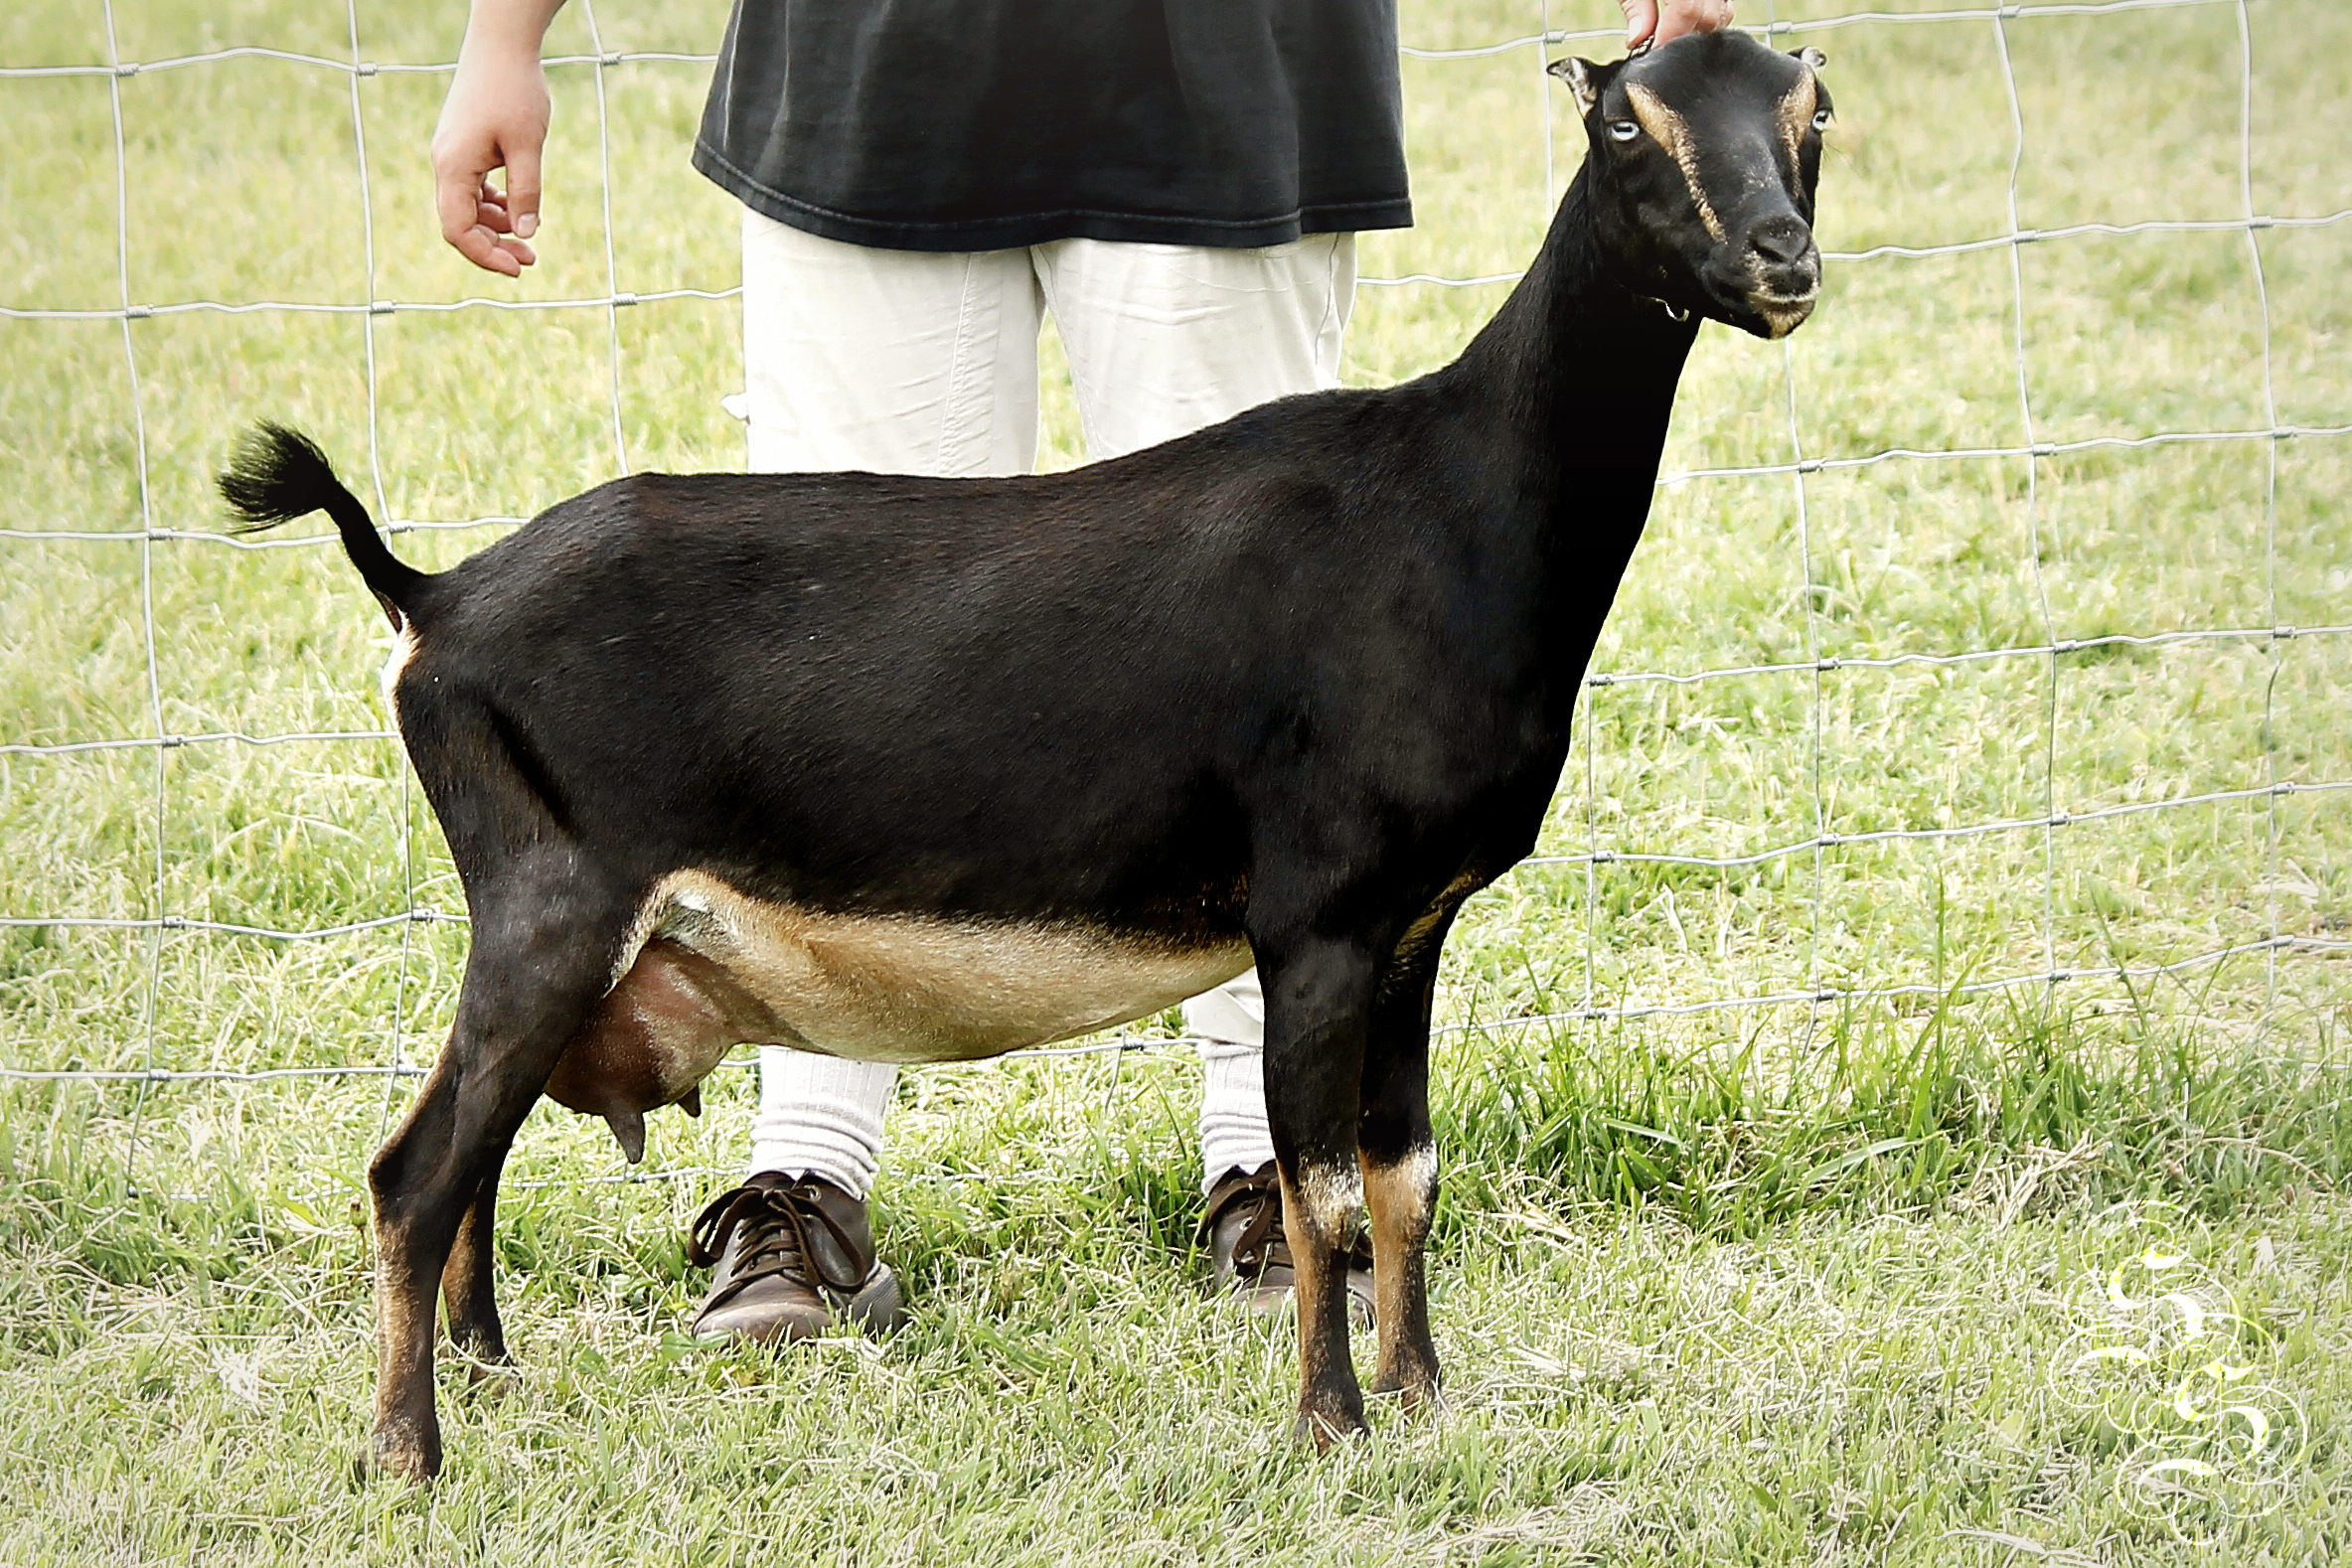
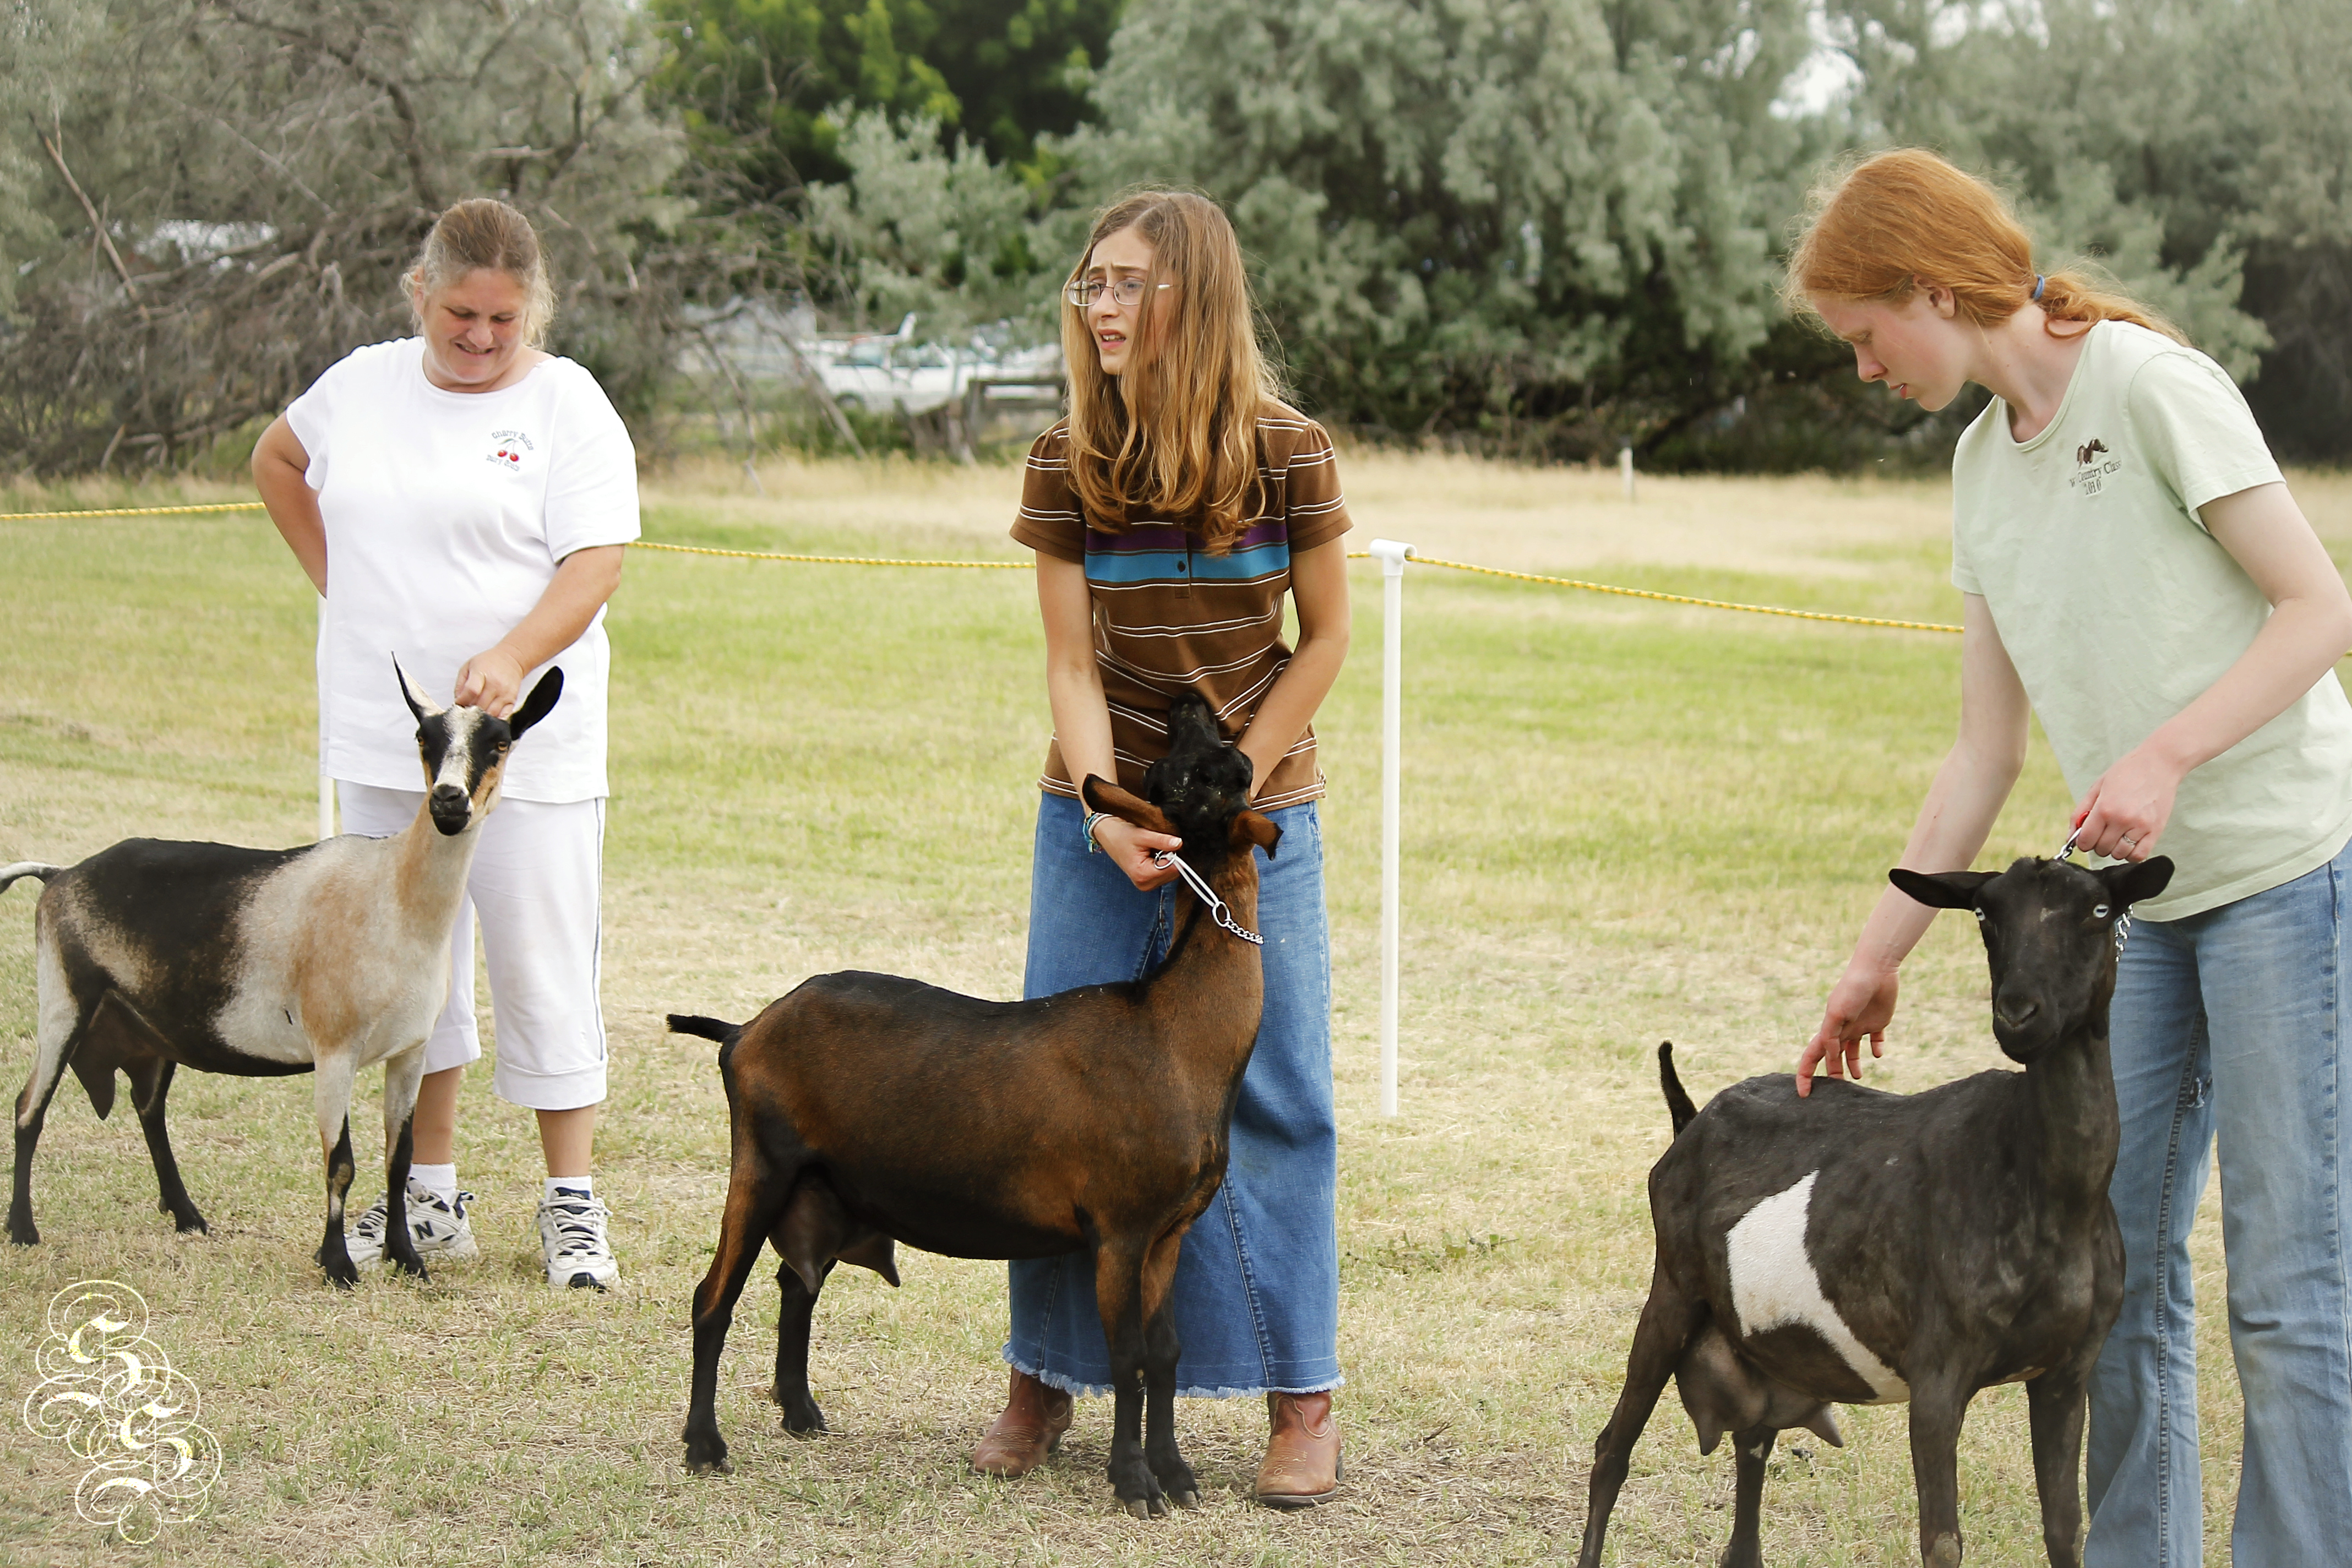
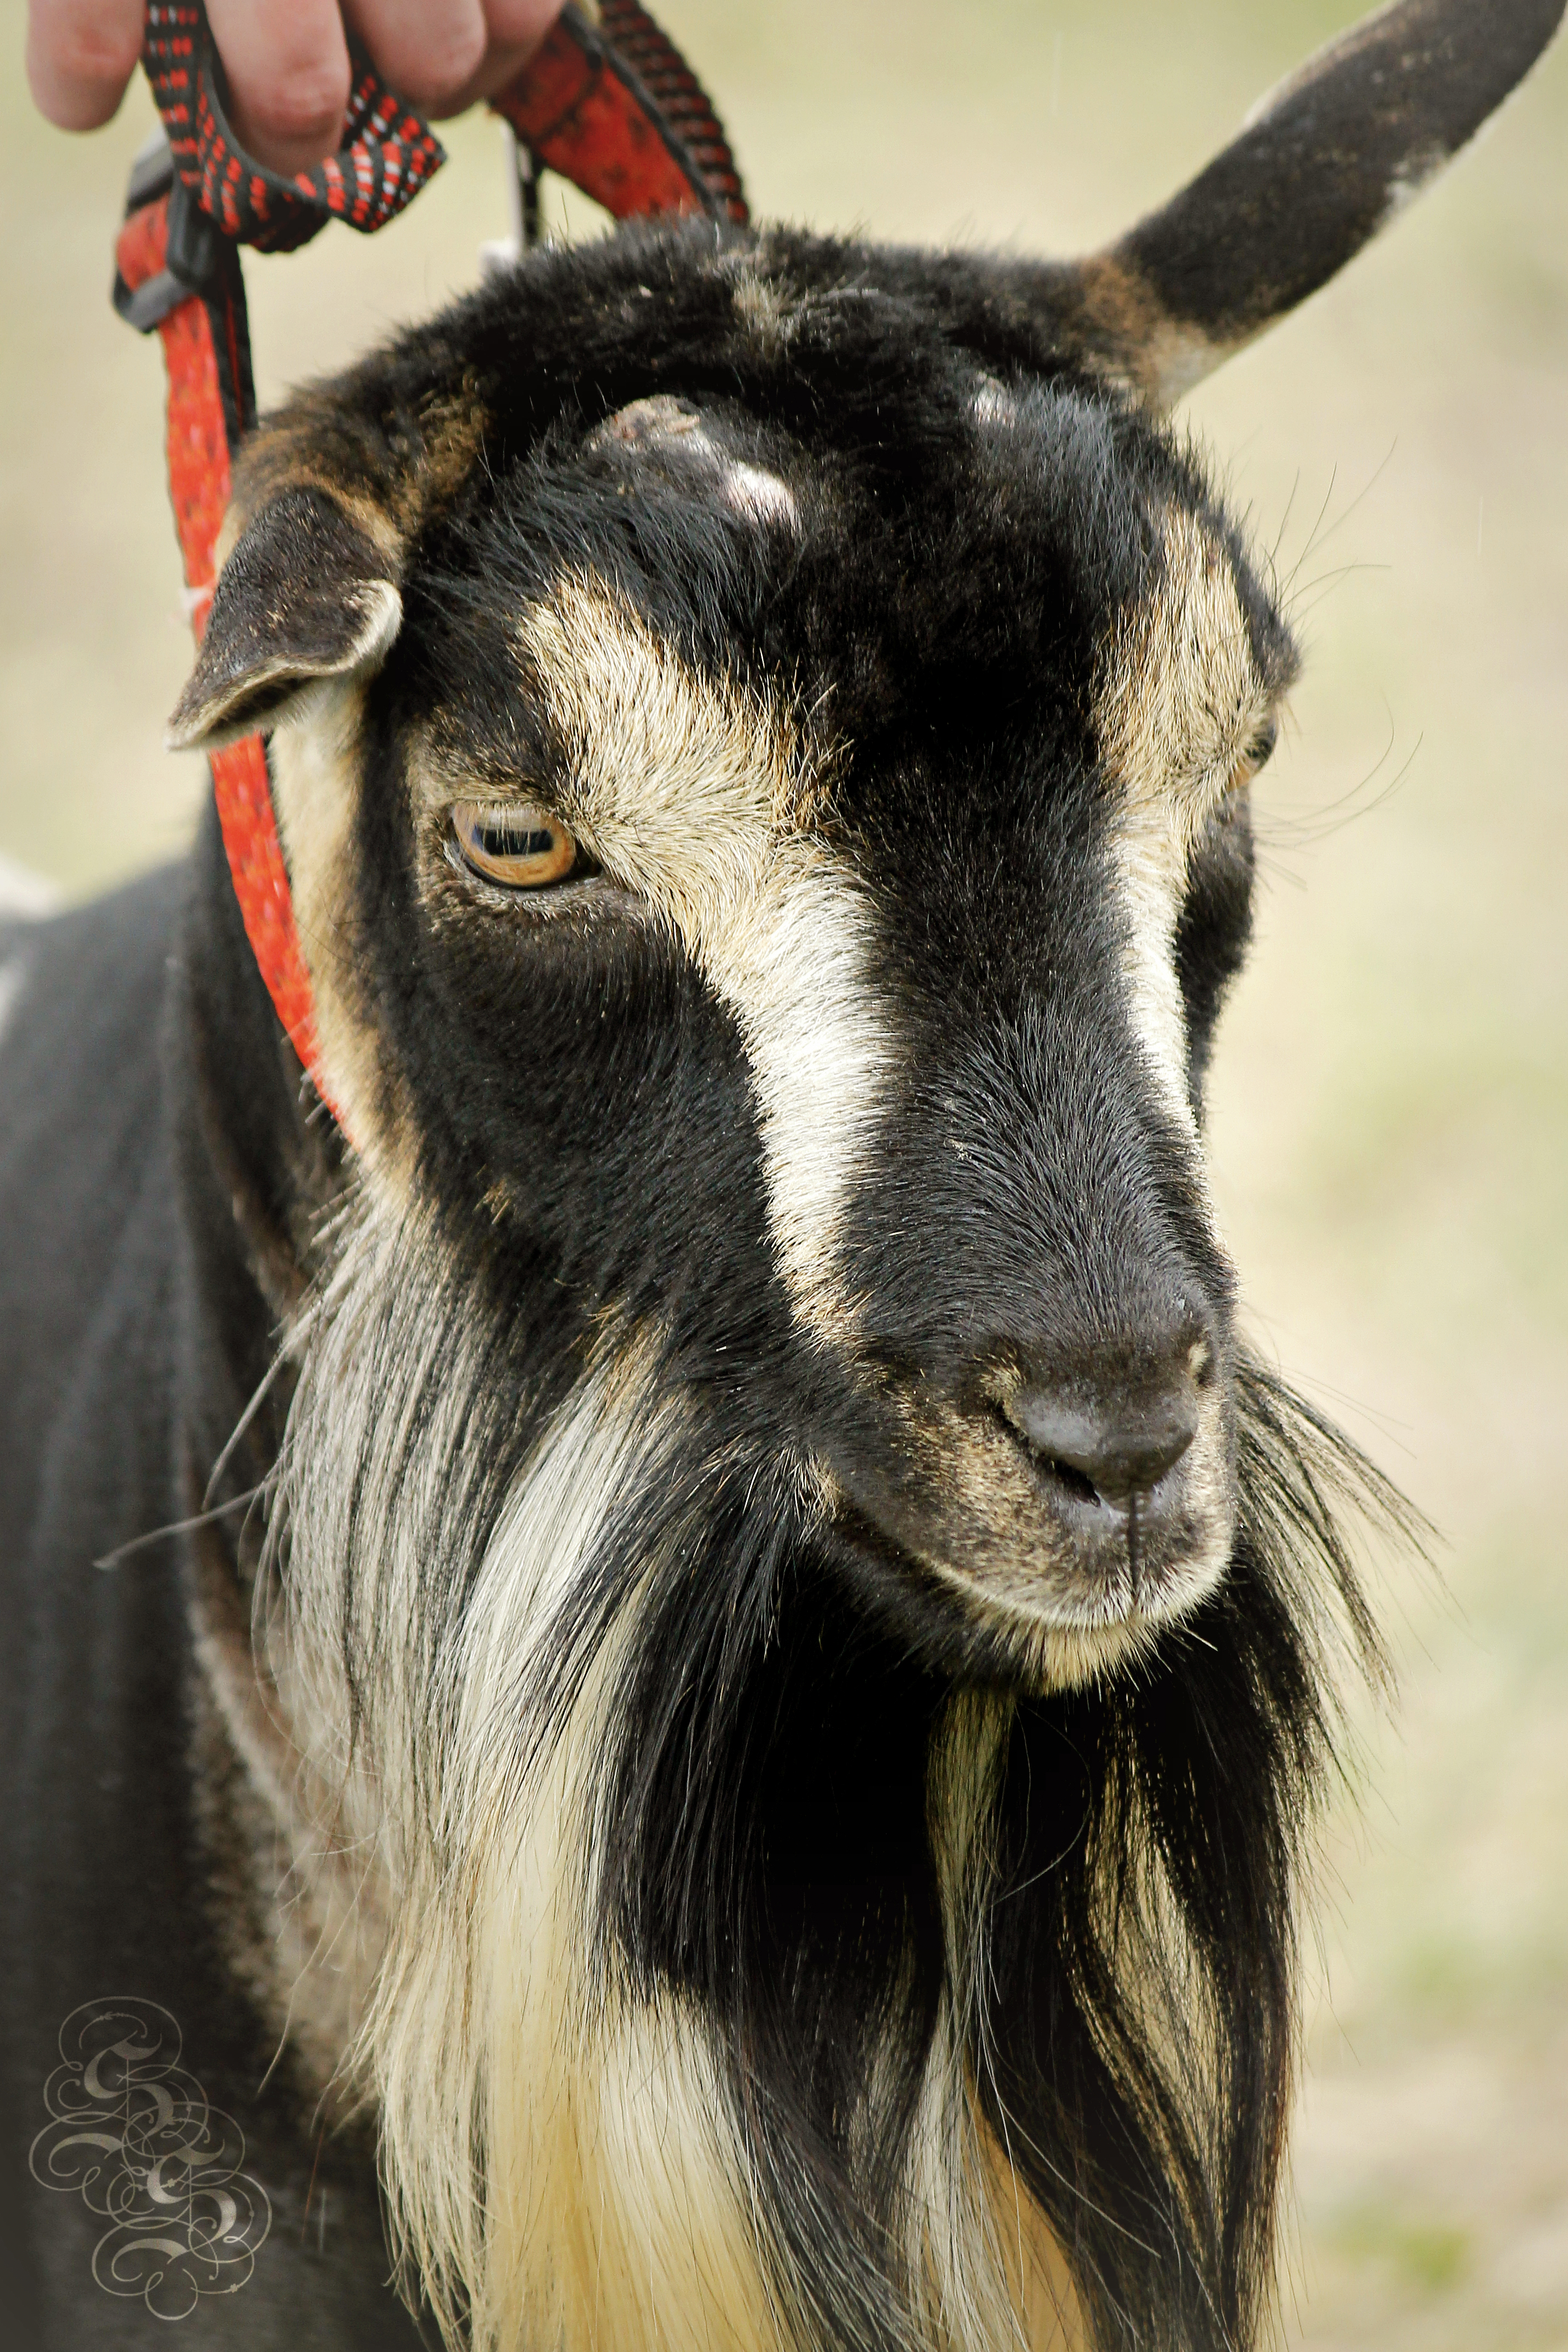
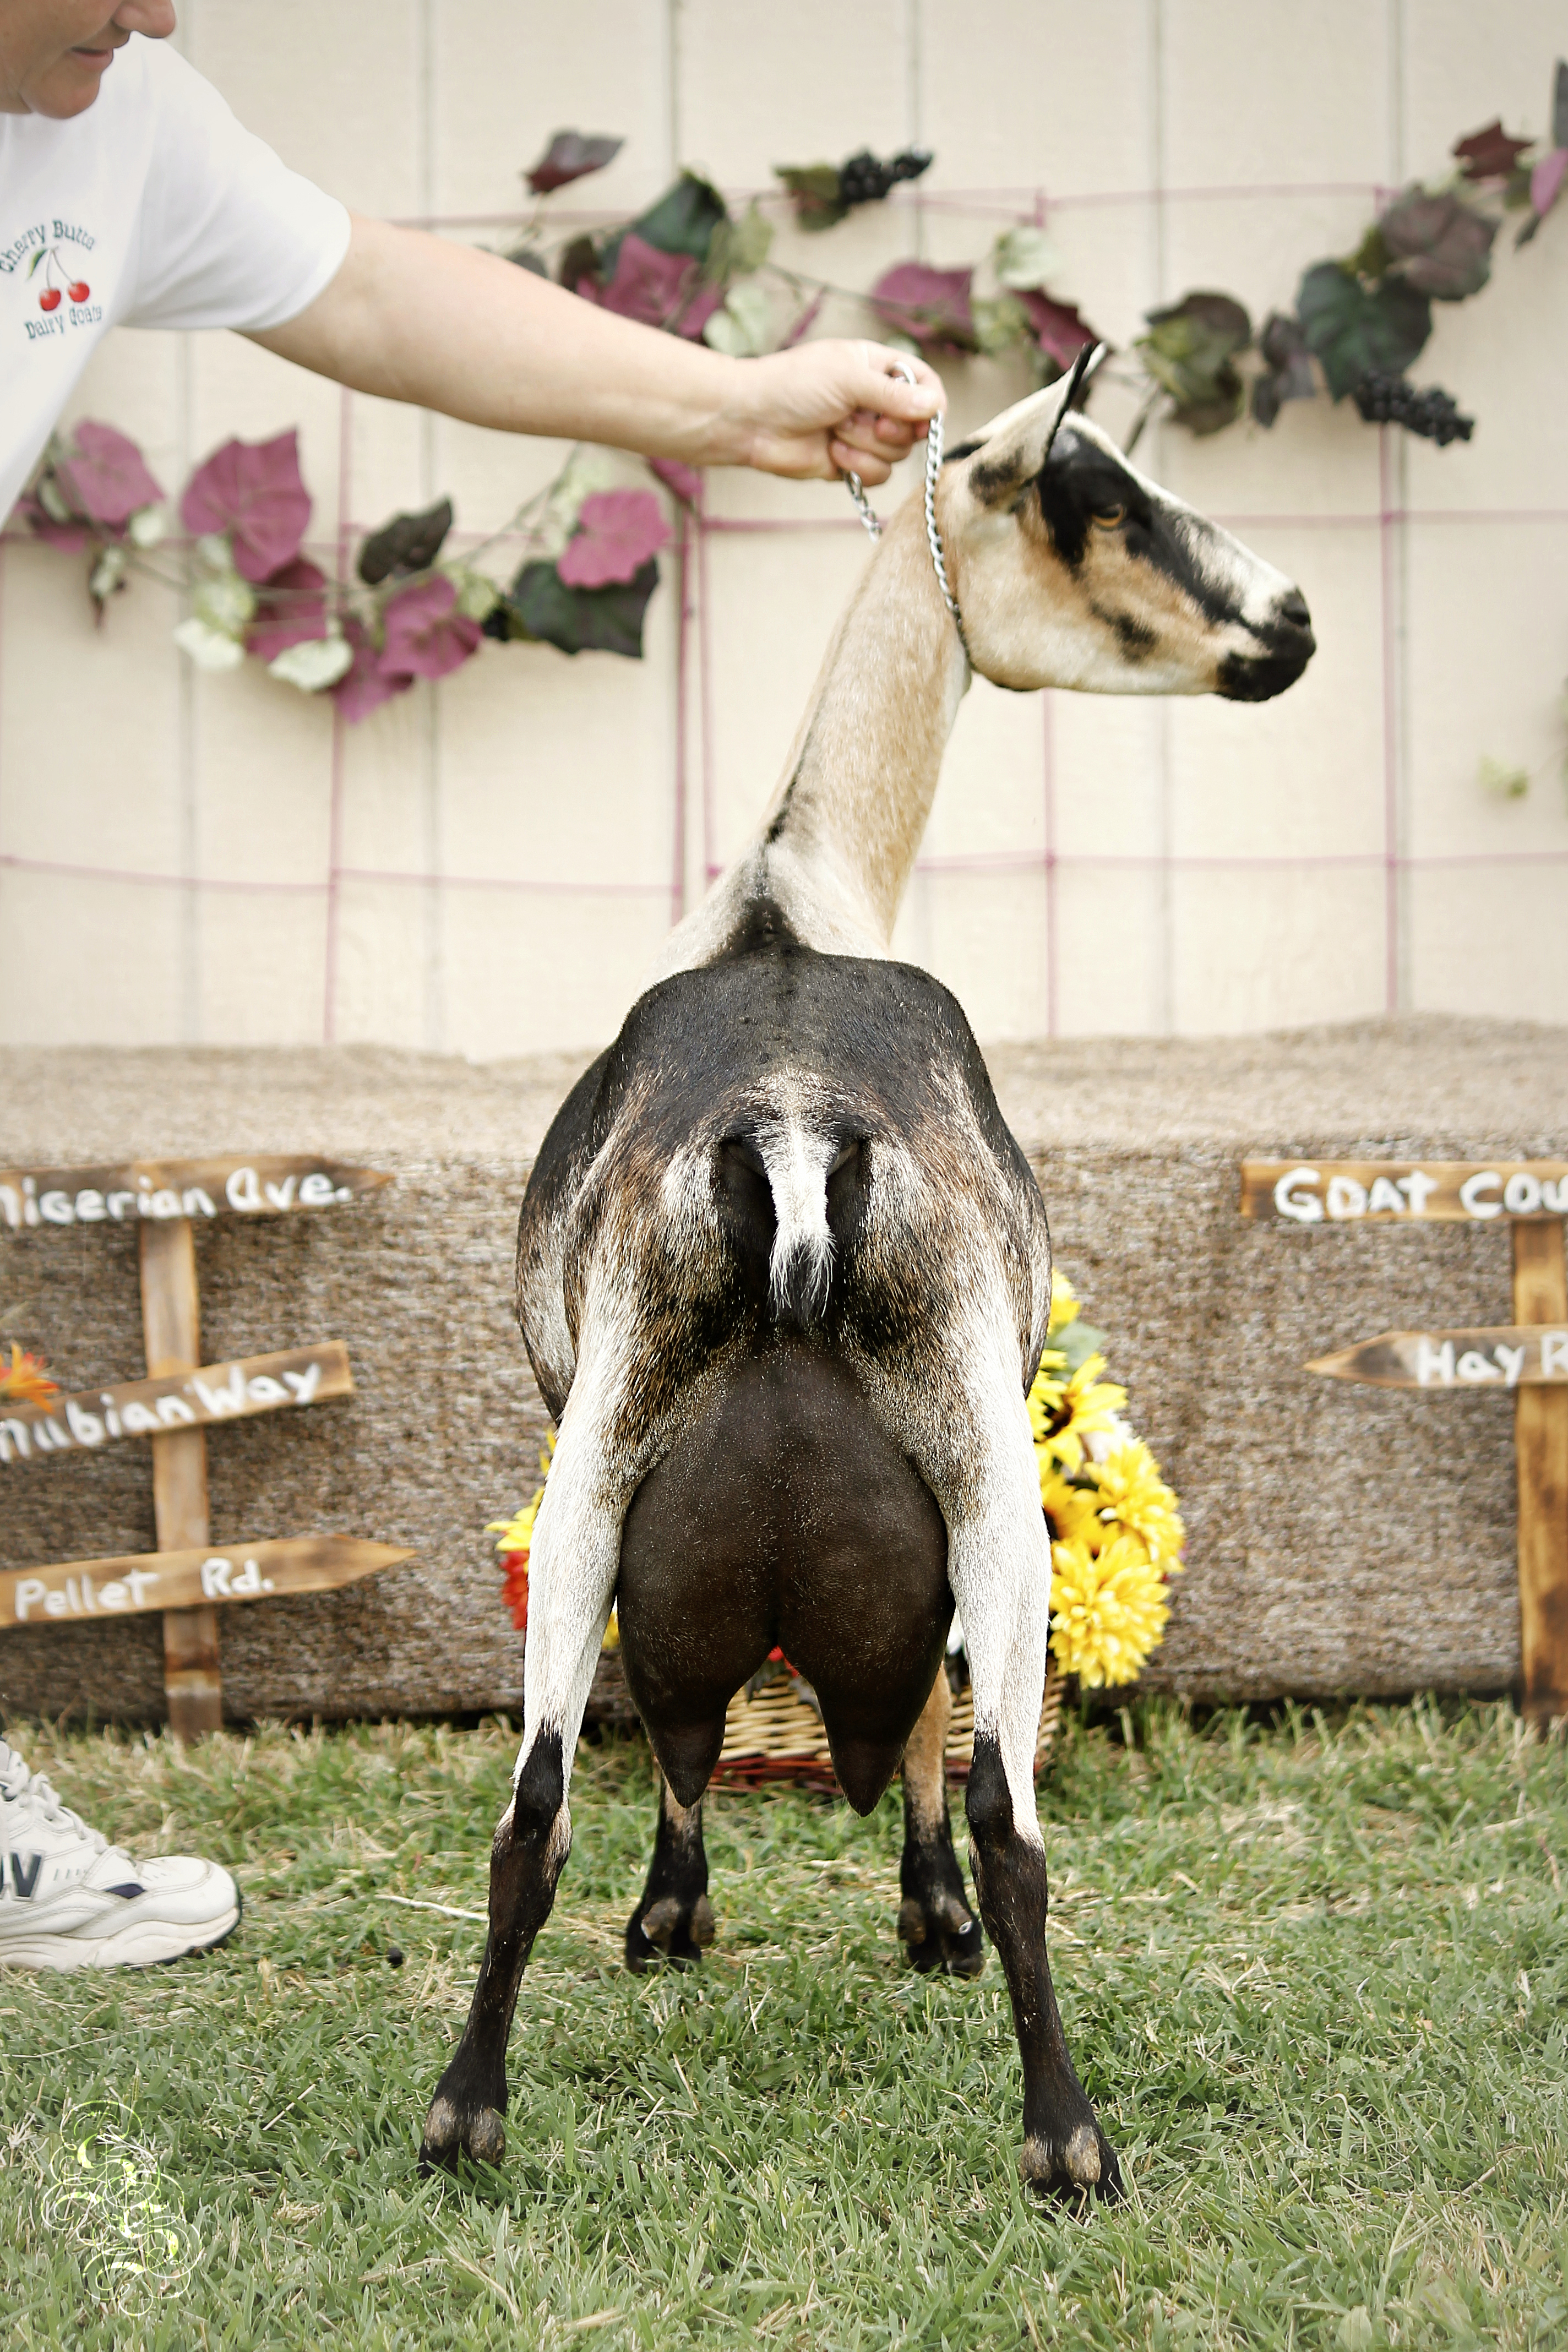
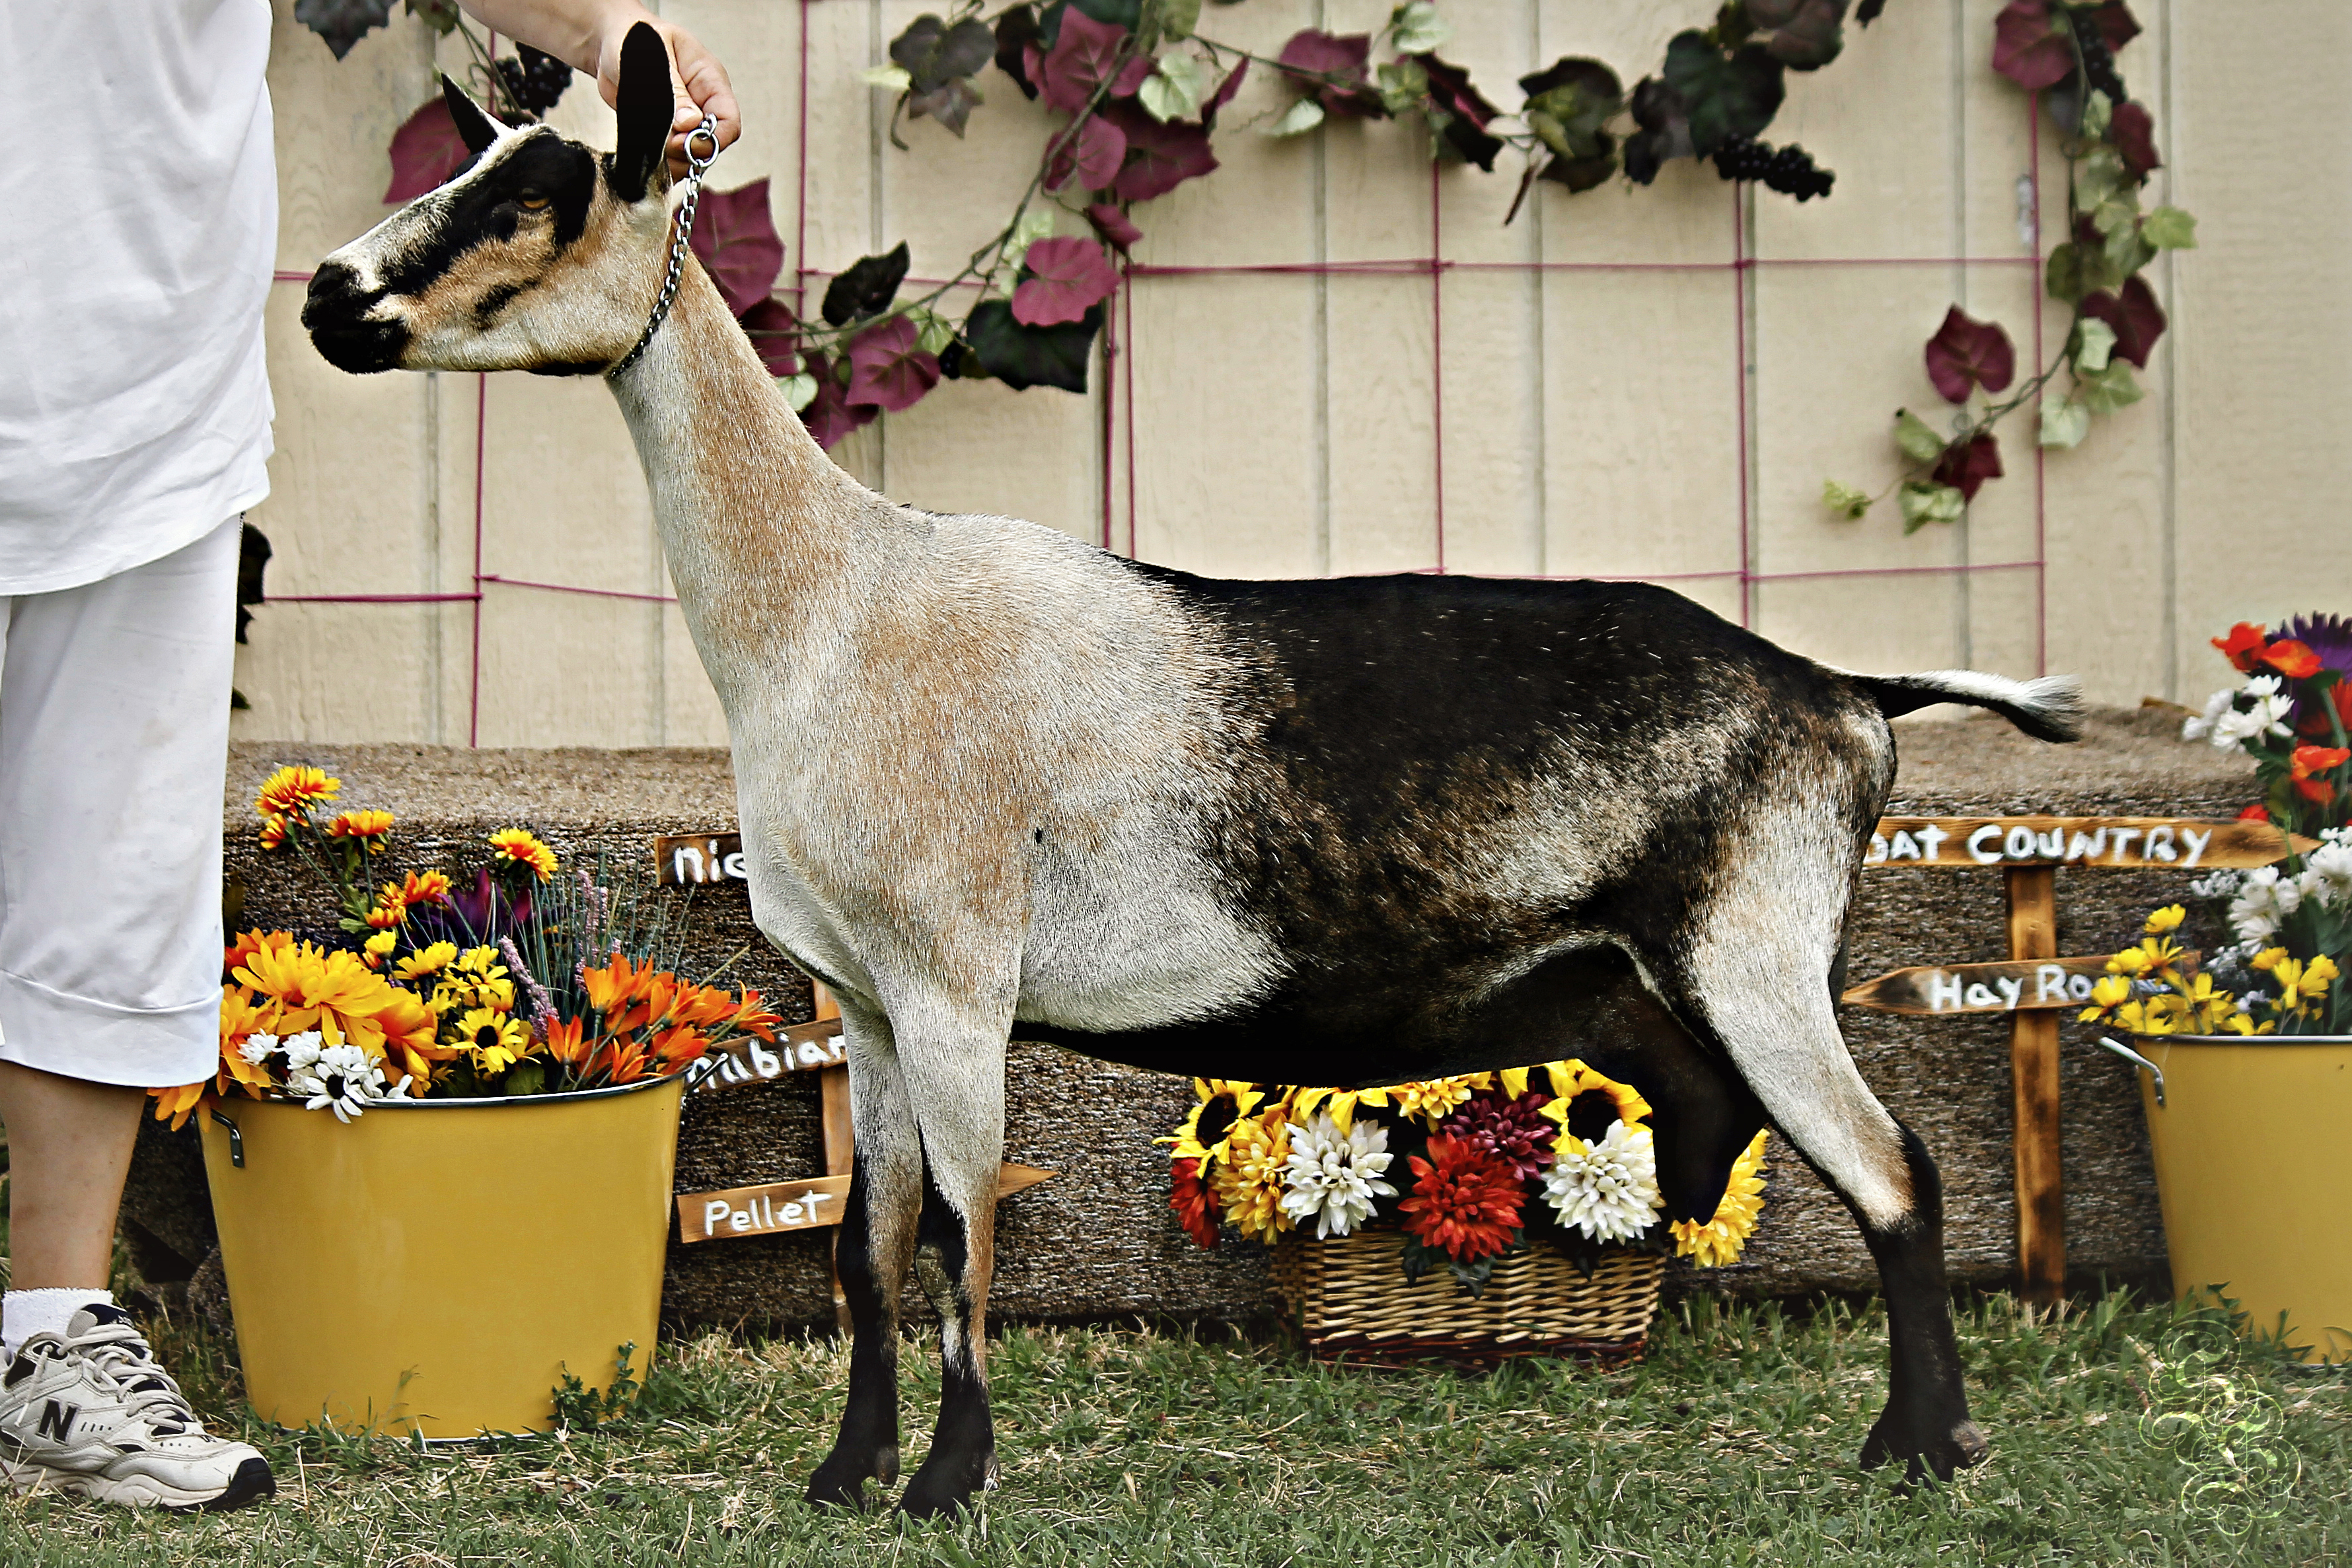
MDGA Goat Show 2012


This is Sarah’s Scenes, Real Life Photographer.
Just a small space for my life and thoughts….
MDGA Goat Show 2012
This is Sarah’s Scenes, Real Life Photographer.
Posted in Misc., My Photos, My Photos: Events, My Photos: Nature
 2 copy")

 2 copy")

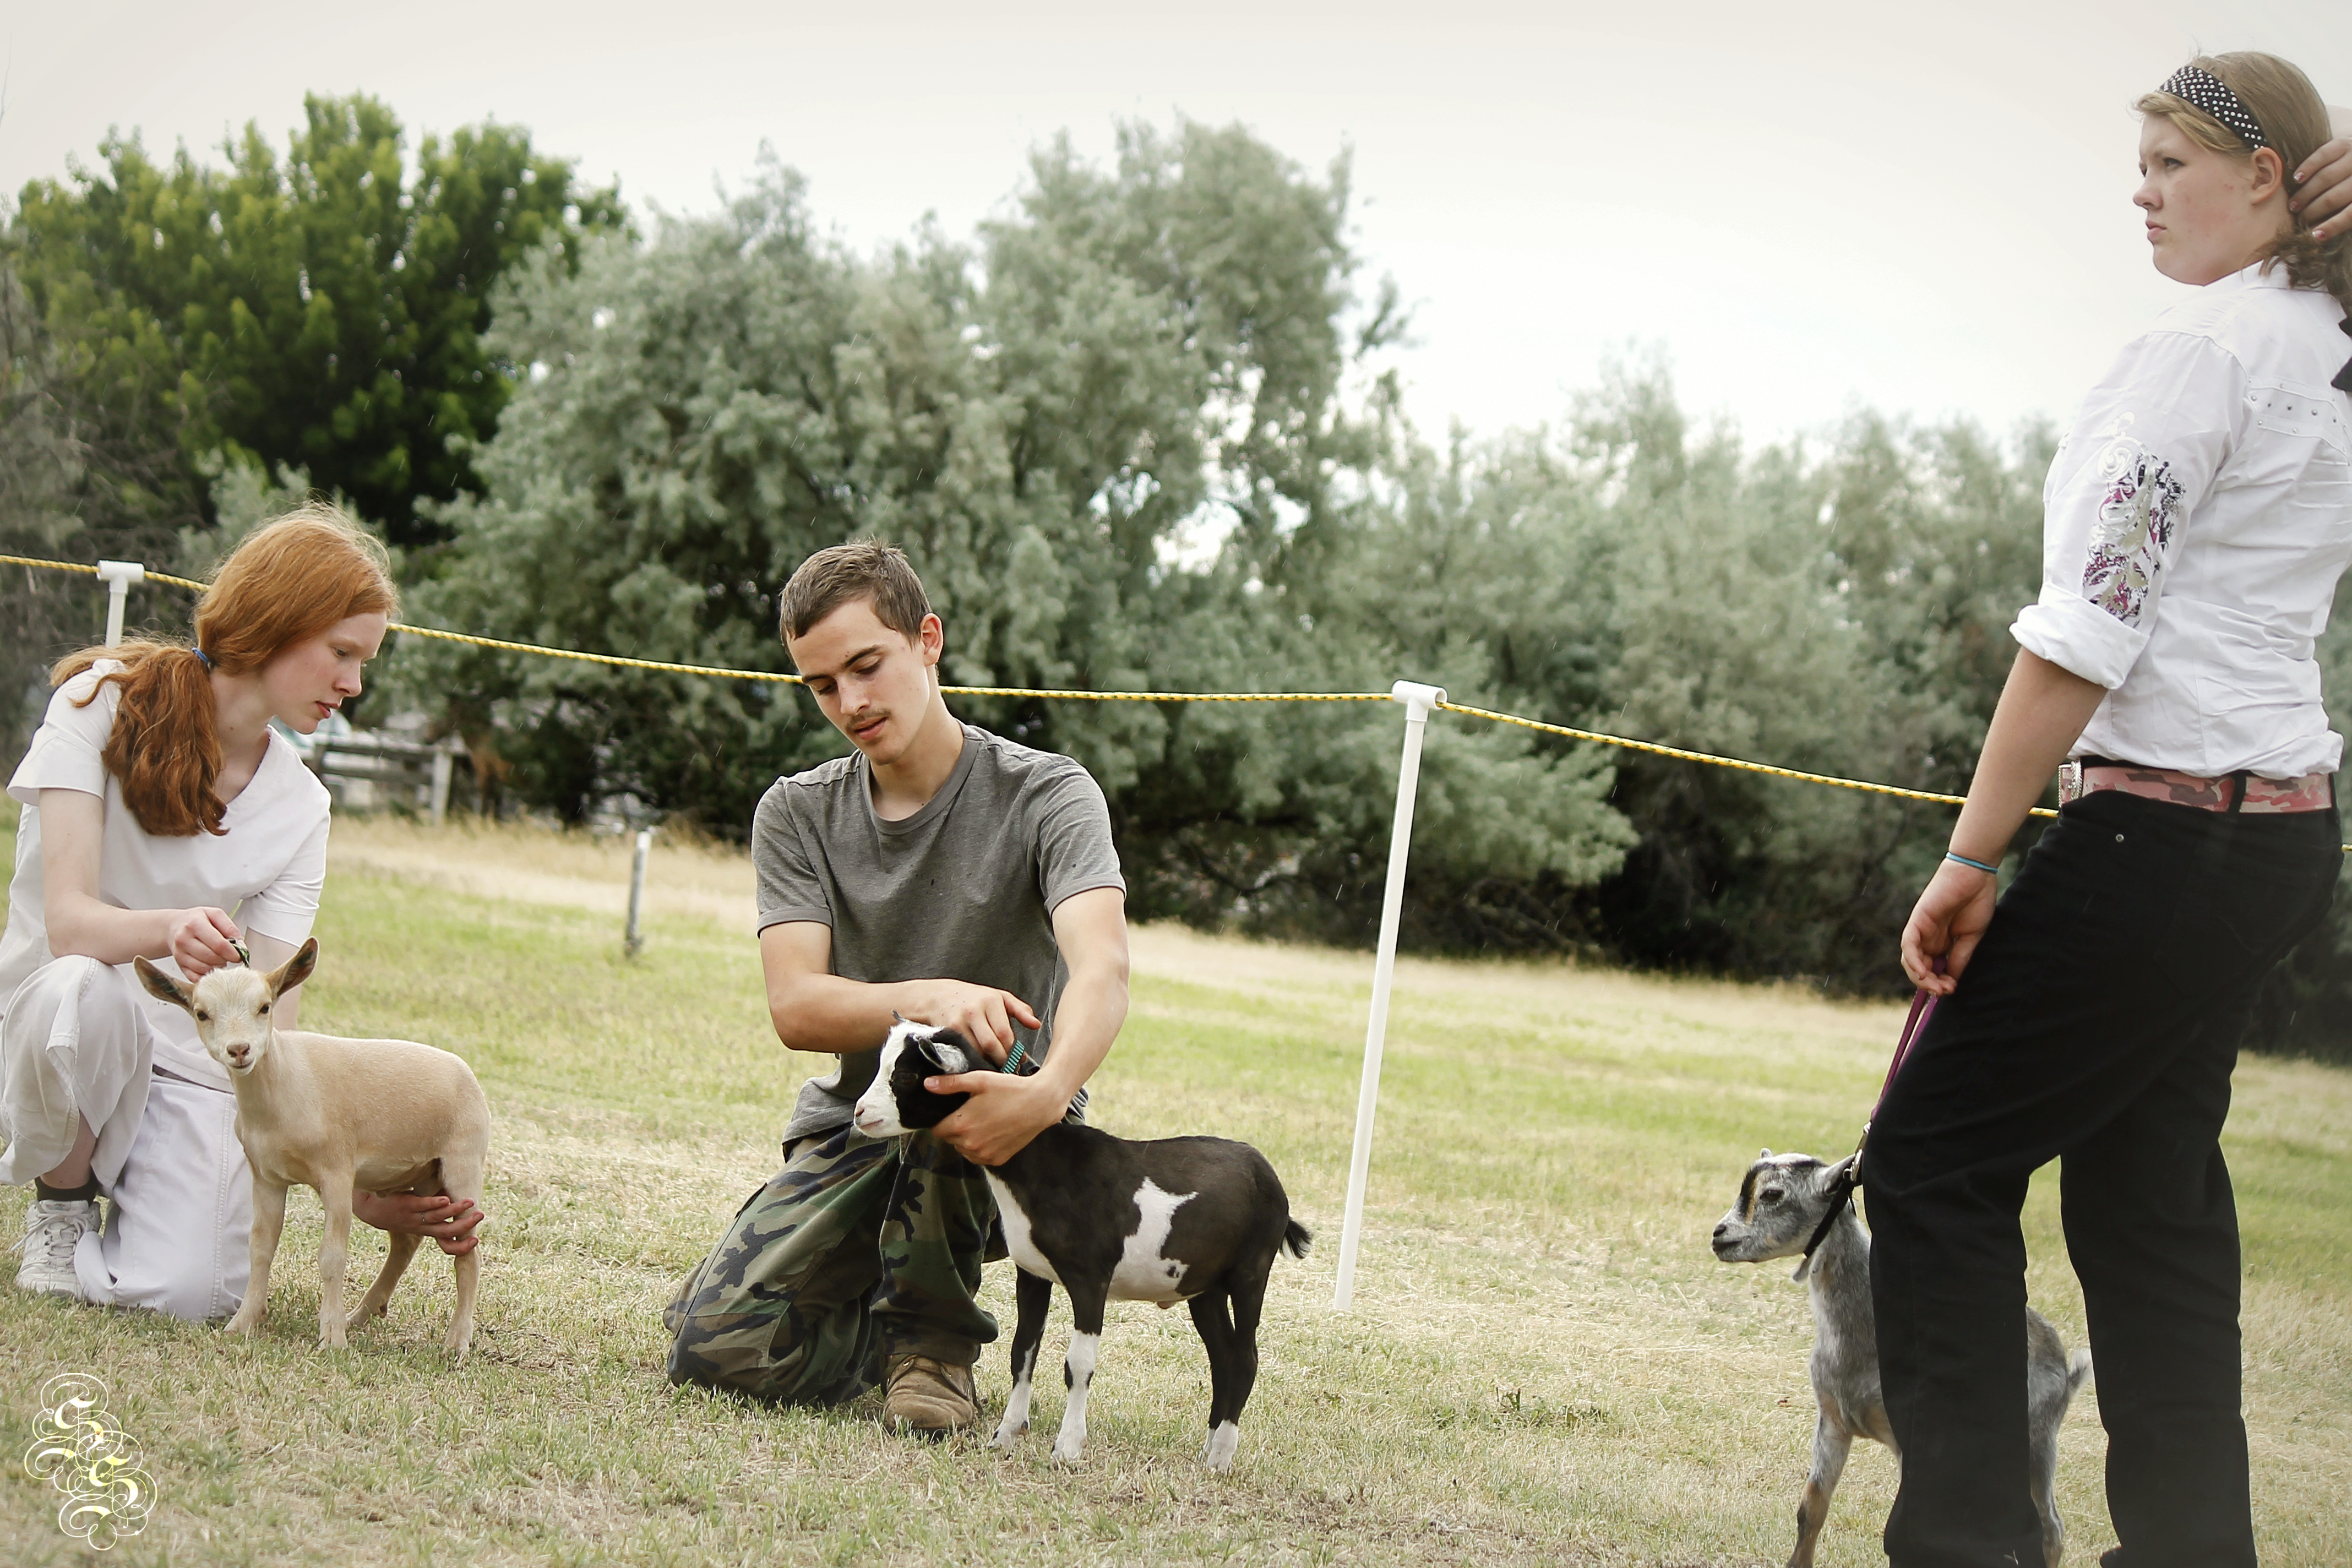
I like a very Traditional, classic feel to my photos. I also love candid shots, two of the top four were total candids Anybody care to guess which two are the candids?
This is Sarah’s Scenes, Real Life Photographer.
Posted in Getting Started, Misc., My Photos
In my last article I covered the basics of working with your white balance in the Program Mode. Today I would like to explain a bit about WHY you need to set it manually.
You see, your camera is like a computer, but only for taking and processing pictures. If that computer is not programmed correctly it will not work correctly. Your eye is the main thing camera developers study to make better quality cameras and lenses, so lets take a look at that for a minute.
Your eyes automatically assess what they are looking at and set a “white balance”‘ so that you almost always see things as white light. You can see a lot of color variations, but you don’t see people under tungsten lighting as being orange as the light they are under, because your eyes automatically correct it. Wasn’t YAH(God) amazing when he created your eyes?
Unfortunately, your camera and lenses are not as good at making automatic adjustments as your eyes are. So you must set the white balance manually to get it just right, although there will be some situations where even setting the correct white balance won’t compensate the colors enough to get it perfect, and that’s when you take it to Photoshop. But, if you control the white balance manually, you should be able to avoid this most of the time.
I failed to include some samples of how the different white balance settings work, I will remedy that mistake now.

Auto white balance.

Sunlight white balance.

Shade white balance.

cloudy white balance

Tungsten white balance.

White Fluorescent white balance.

Flash white balance.
I do not have a “Custom white balance” here because that will vary from person to person and camera to camera. I hope this helps you all to understand the white balance of your camera better.
this is Sarah’s Scenes Real Life photographer.
Lesson: understand your camera, and you can help it understand what you want to see, and you will have an easier time getting that picture the way you want it.
Posted in Getting Started
all right, in our last post we covered “using what you have to make a good photo” Don’t be discontented and think you can’t do great photography just because you don’t have a great rated camera! well, now were going to start learning about how to use that little camera in your hands to the best advantage!
First, I want to challenge you to stop using Auto! Don’t use the full auto setting, it takes all the creativity out of photography!
Second, start shooting in Program mode, it gives a little more control without scaring you out of your mind with all the controls needing your attention. I would start using this mode by adjusting the “White Balance”. When you go to the white balance feature you will see the options: Auto, sunlight, shade, cloudy, Tungsten Light, White Fluorescent Light, flash, and custom.
Auto means the camera will decide the white balance.
Sunlight means that it will leave things that you see almost untouched in the picture, it will appear very much as you see it when you’re shooting out-of-doors.
Shade gives a warm almost orange hue to your pictures, a lot of landscape photographers use this setting to make the colors richer.
here’s a sample of the Shade setting:

Cloudy works in a similar way to shade, but not quite as much.It adds a little warmer color, but not a strong amount and helps to enhance some colors that would be dull without it, but without blowing things out of proportion.
Tungsten is for indoors with the lights on. The regular house lights have an orangey hue to them and that will affect your photos. But this setting will help to reduce that orange glow, and make it less noticeable.
White Flourescent is for when you’re shooting in business buildings or any other type of building tha has those white colored lights, you can also use the sunlight setting for those places if you like.
Flash is similar to sunlight, only you can choose to have the flash on or off. with sunlight it’s usually just off.
and then Custom is kinda hard, it’s for those brave ones out there that want to do a lot of experimenting. you can set that yourself, there are a few tricks to it, but i will save that for another day.
These are some quick sumaries of the White Balance settings, and will help you as you progress away form Full Auto Mode.
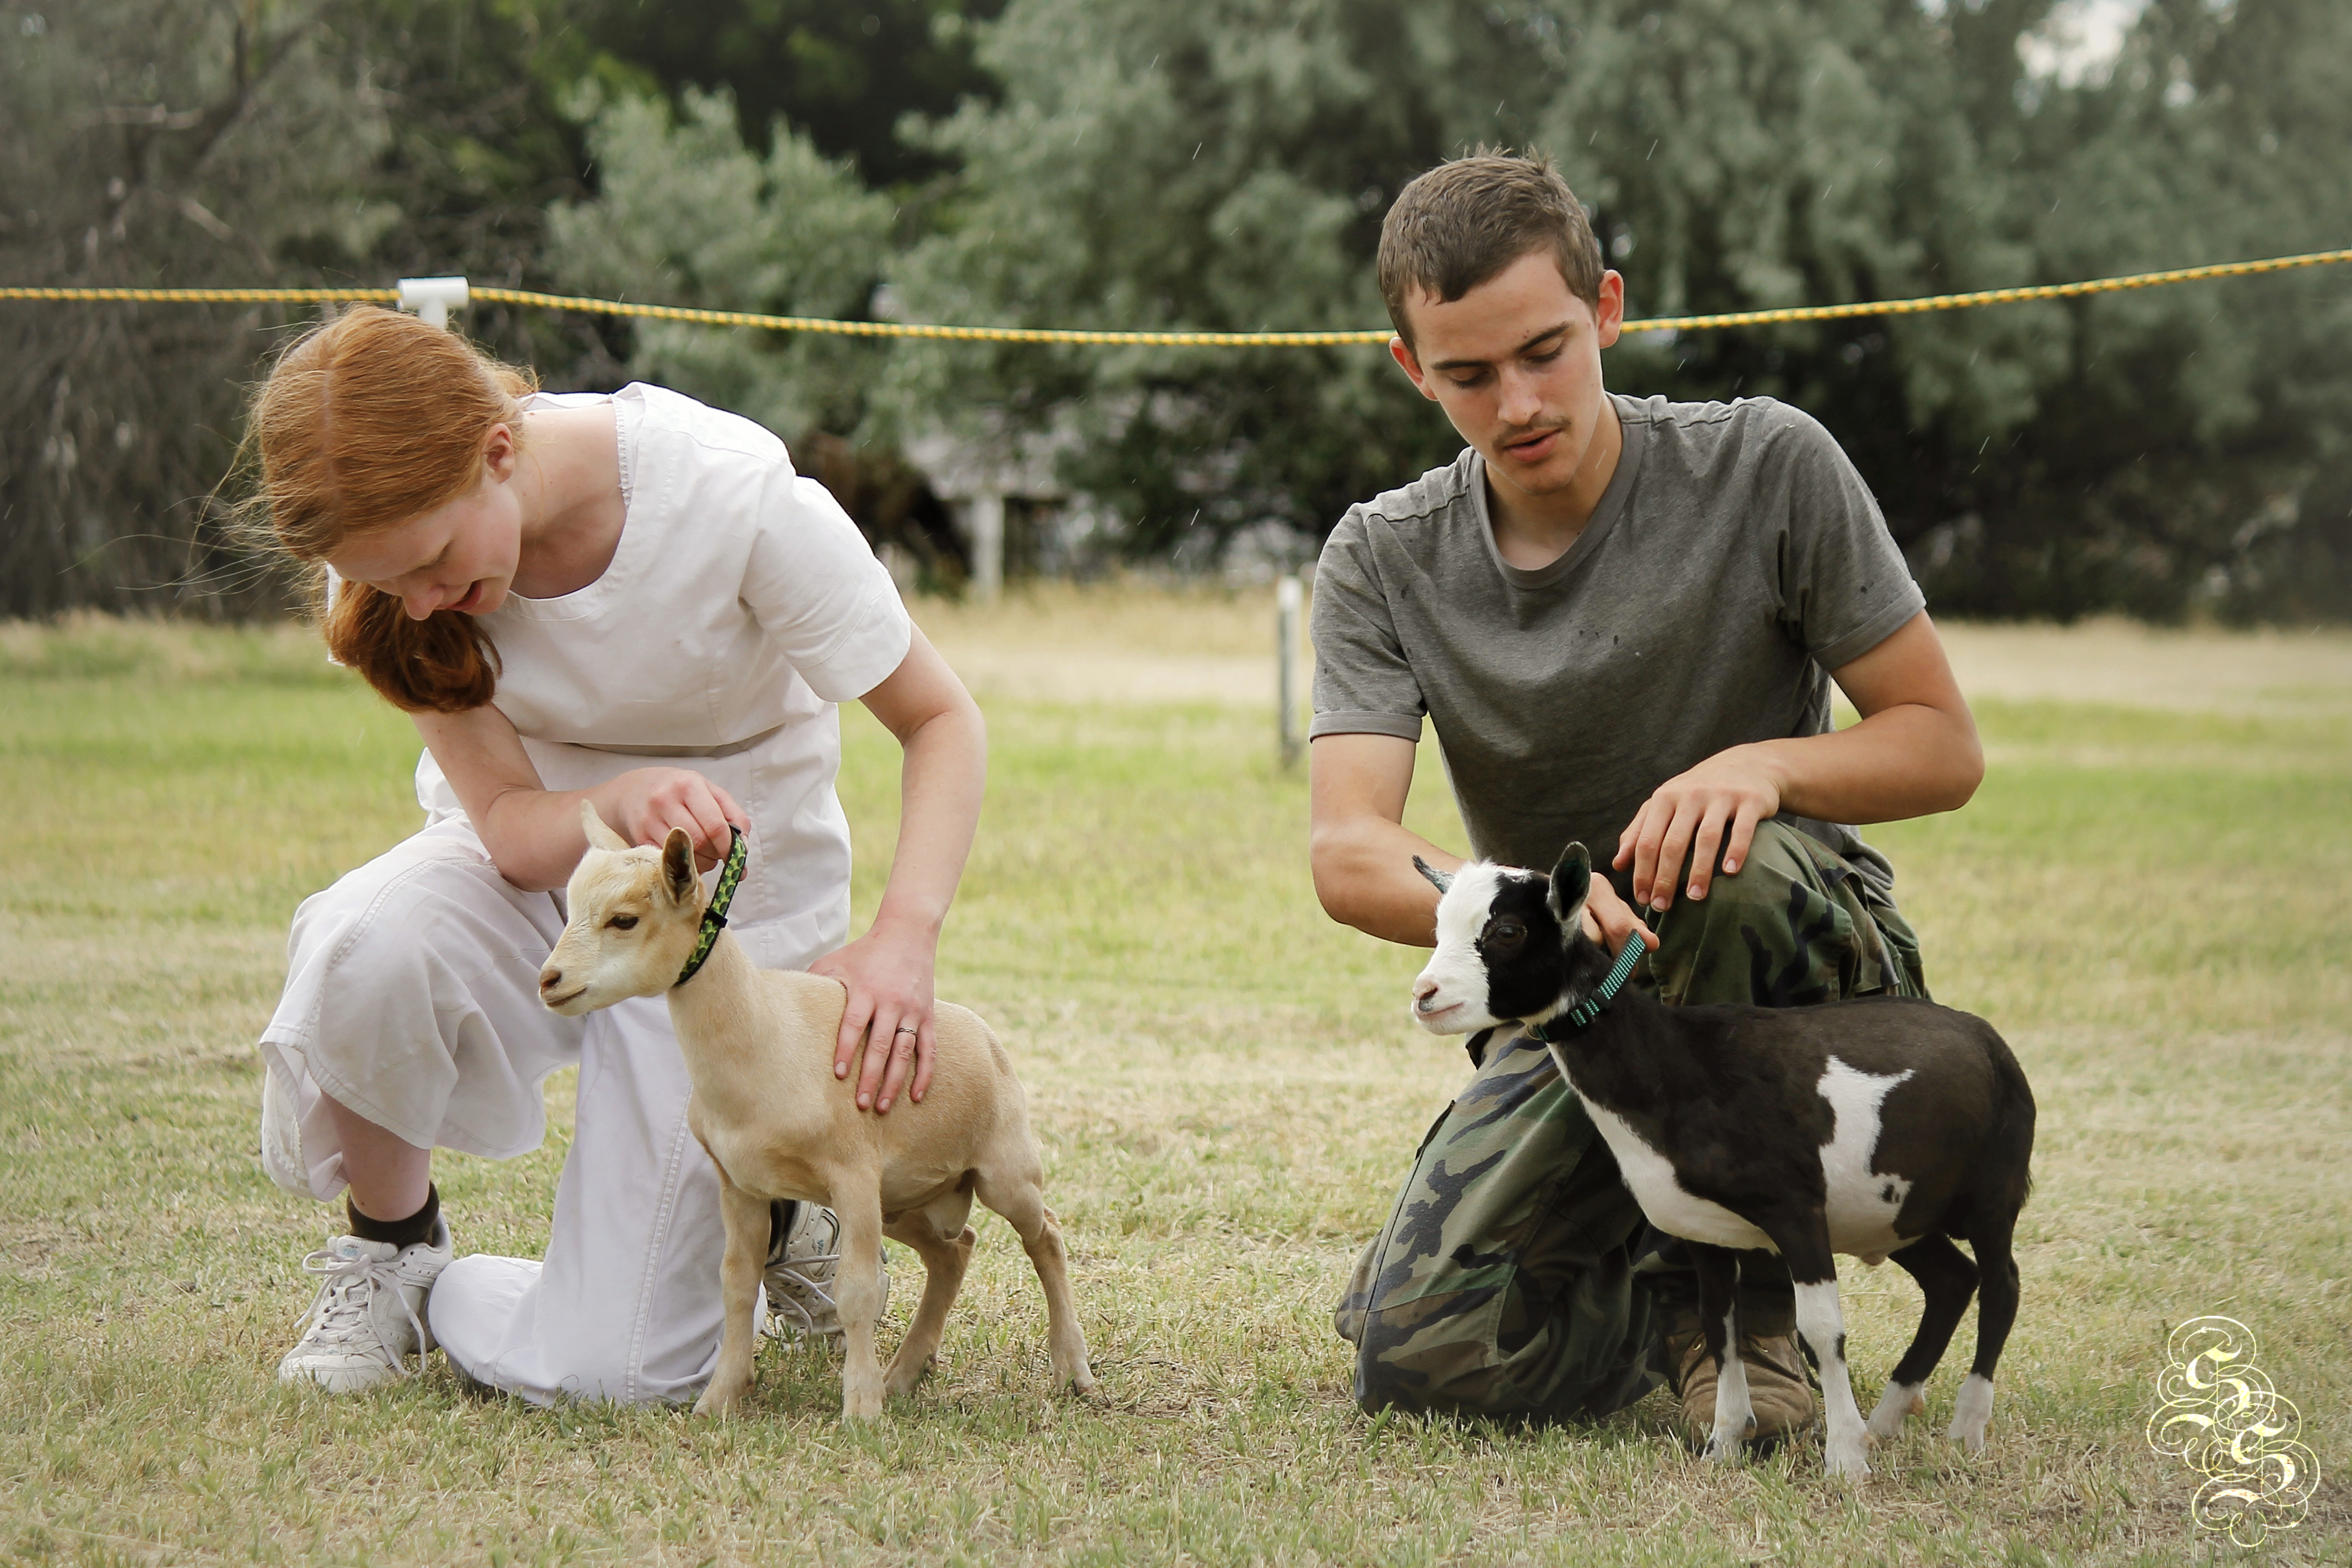
But, you can think outside the box with these settings! for instance, with the Shade Mode you don’t always HAVE to be in the shade to use it. You could be in the woods or out in a field, like here…

It was drizzling rain upon us, though we were out in the light it was a dreary sort of overcast day. Using the shade white balance brightened things up, made the color richer, and made it feel like a mid-summers day! My point, once again, is “Be Creative,” and stop using the full auto mode! it takes all creativity out of your pictures, not to mention setting the white balance manually gives a better picture, period. I hope you’ve learned a little from this article to help you as you edge away from using Auto Mode.
Once again, this is Sarah’s Scenes Real Life Photographer.
Lesson: start adjusting the white balance yourself. be creative with it, and don’t be a afraid to explore your options!
Posted in Getting Started